


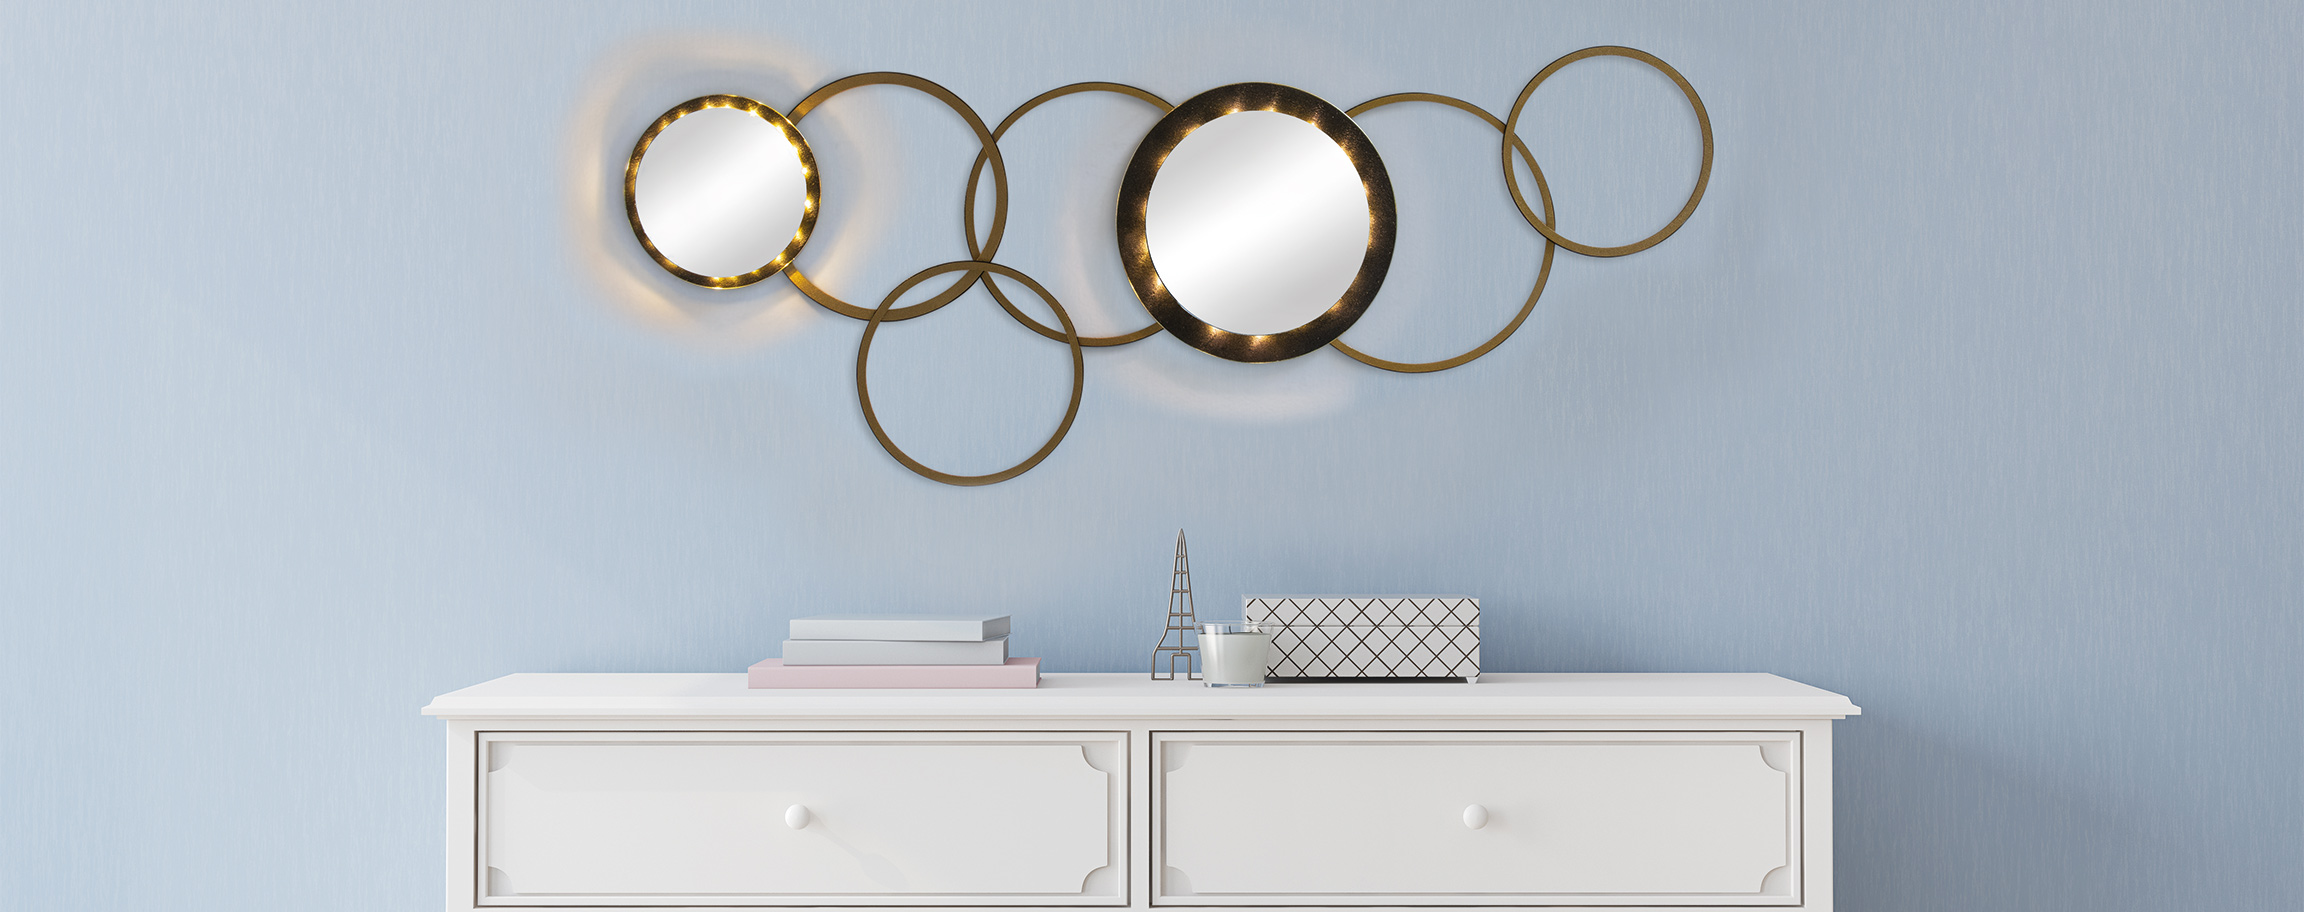
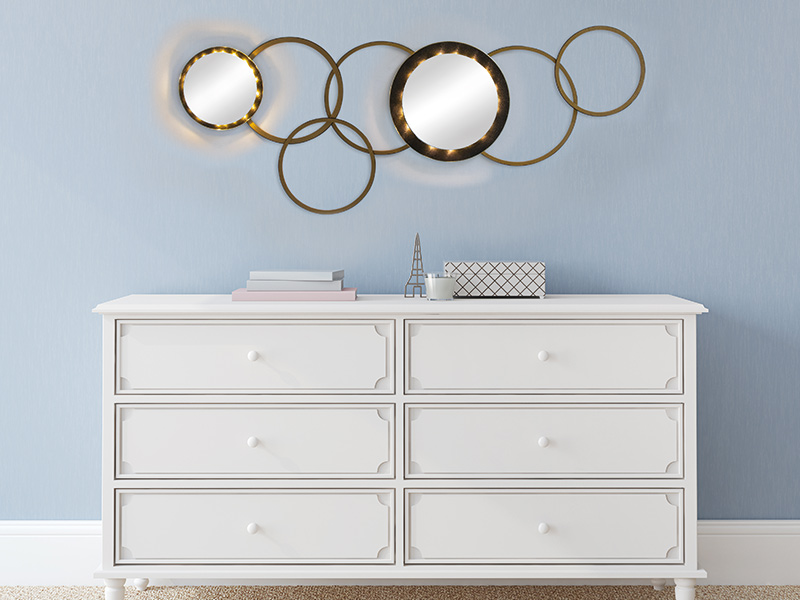


Instructions in 10 steps Simple, plain and impressive: the wooden rings available in different sizes become true eye-catchers in your home provided with mirrors and lighting elements.
Besides the articles listed below, you also need: CR2032 batteries (2 pieces)
And this is how it works: 1 ![]()

Step 1
Using a brush, paint two round wooden plates (14.9 cm ø and 24.7 cm ø) with the black All Purpose paint Gloss. Allow them to dry out.2 ![]()
Step 2
Paint all wooden rings (16.9 cm ø, 22 cm ø, 18.9 cm ø, 19.9 cm ø, 23.3 cm ø, 24.7 cm ø) with a brush and the metallic paint brill.gold and allow them to dry out.3 ![]()
Step 3
Affix the extra strong double-sided tape onto the outer edge of the black wooden plates and stick the gold leatherette strap onto it.4 ![]()
Step 4
On all golden wooden rings, affix the extra strong double-sided adhesive tape onto their outer edge and stick the black leatherette strap onto it.5 ![]()
Step 5
Cut the square dowels so that they are placed in the middle behind the mirror, but do not poke out of the sides.6 ![]()
Step 6
Apply the adhesive pen to the square dowels, allow it to dry briefly out and then stick them to the mirror.7 ![]()
Step 7
Stick the micro LED string lights to the edge of the mirror’s rear side by means of the double-sided adhesive tape. The light dots should not poke out of the edge of the mirror.8 ![]()
Step 8
Now apply the adhesive pen onto the other side of the square dowels and glue them centrally onto the wooden boards.9 ![]()
Step 9
Put the wooden rings and boards together as desired and affix them with the adhesive pen.10 ![]()
Step 10
Position the slotted picture hangers and glue them by means of the adhesive pen.Related craft ideas Looking for similar craft ideas? You can find them here: ![]()
![Difficulty -]()
![]()
![Difficulty -]()
![]()
![Difficulty -]()
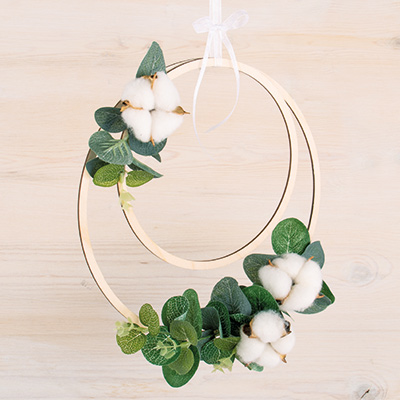
Wooden ring Eucalyptus
DIFFICULTY

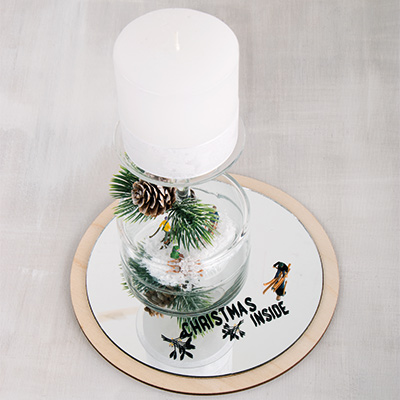
Mirror plate "Christmas Inside"
DIFFICULTY
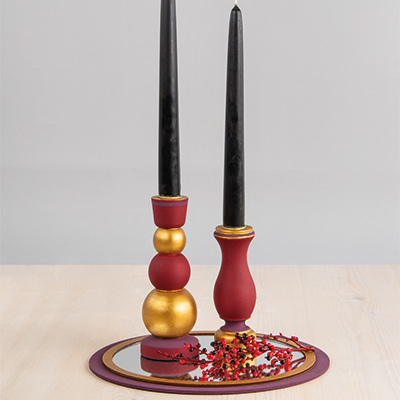
Wooden mirror tray with candlestick
DIFFICULTY
