


Instructions in 5 steps Casting moulds are easy to fill with Raysin. Casting takes place with the Nupsi foam rubber placeholder inside the mould, which can be removed once the cast item is dry.
An empty spot is thus obtained for inserting a wooden egg.
Besides the articles listed below, you also need: Scissors, double-sided adhesive tape, sandpaper, needle or tweezers
And this is how it works: 1 ![]()
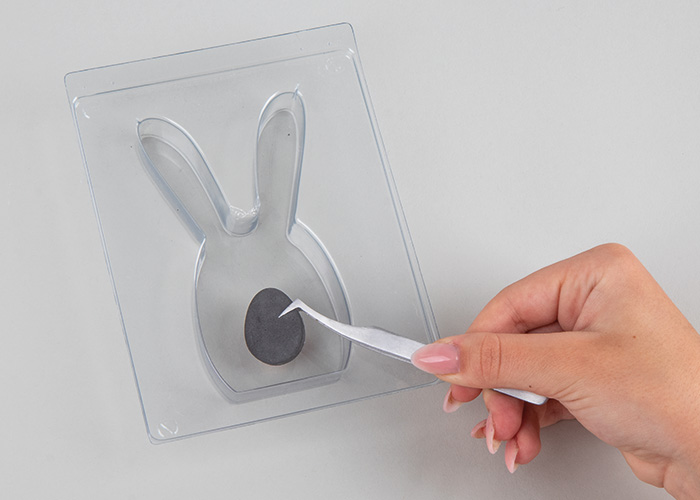
Step 1
Insert the Nupsi placeholder into the small casting mould using the tweezers and fix it in place by means of the adhesive tape.2 ![]()
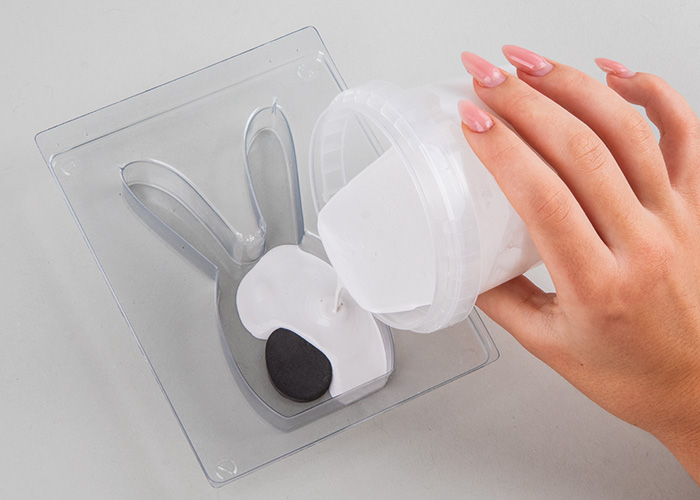
Step 2
Mix the Raysin powder with the exact amount of water given in the instructions and fill the two casting moulds with the mixture obtained. After a drying time of 240 minutes (for the large bunny) and 180 minutes (for the small bunny), you can demould the bunnies and remove the Nupsi placeholder.3 ![]()
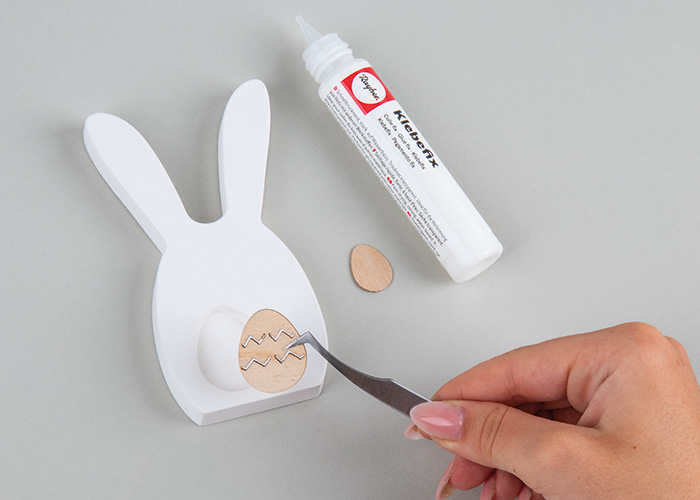
Step 3
Insert the wooden egg in the oval hole of the small bunny and fix it in place using the Glue Fix pen, then glue the veneer wood egg on top.4 ![]()
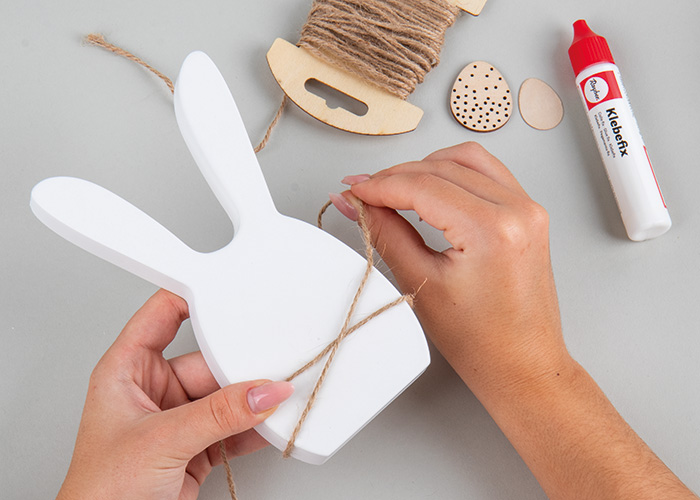
Step 4
Cut a bit of string 60 cm long from the jute cord and wind it twice around the large bunny. Then glue on the wooden egg, the veneer wood egg and the decorative feathers.5 ![]()

Step 5
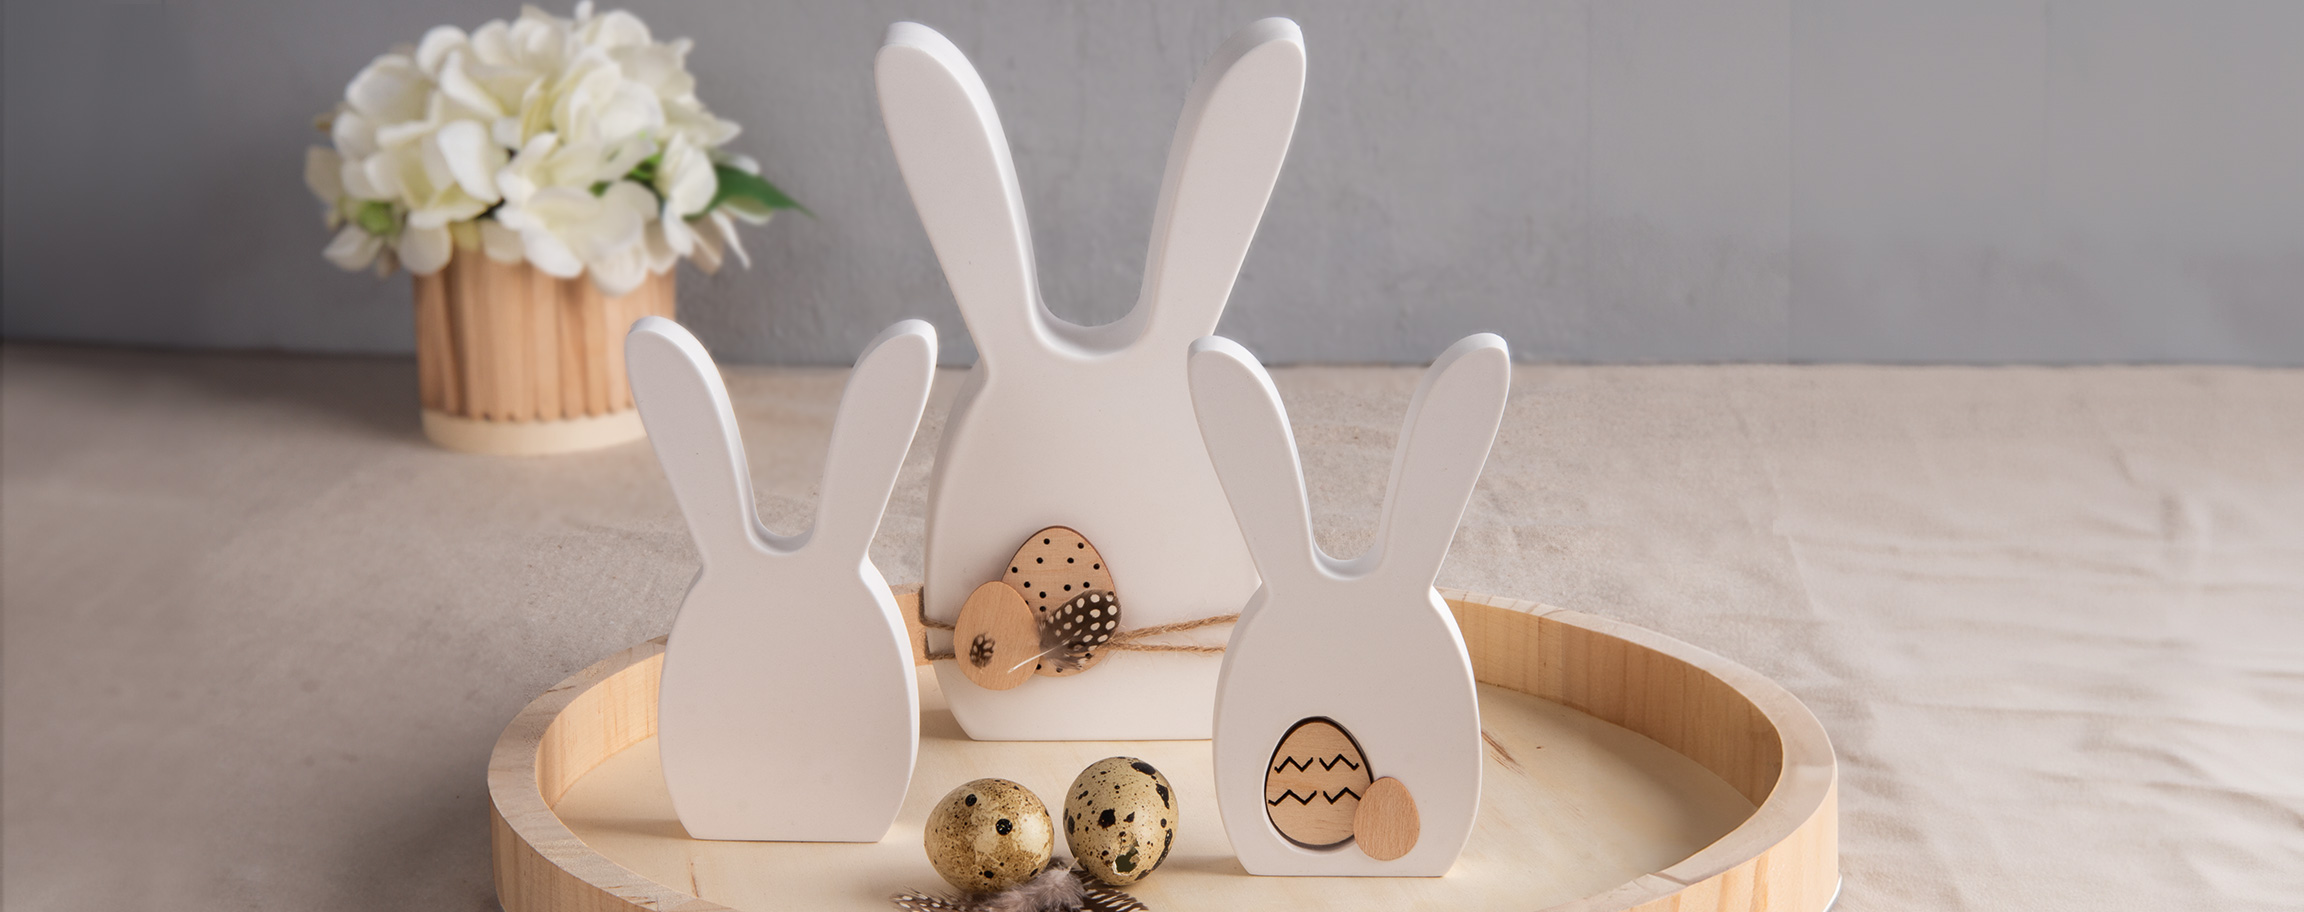
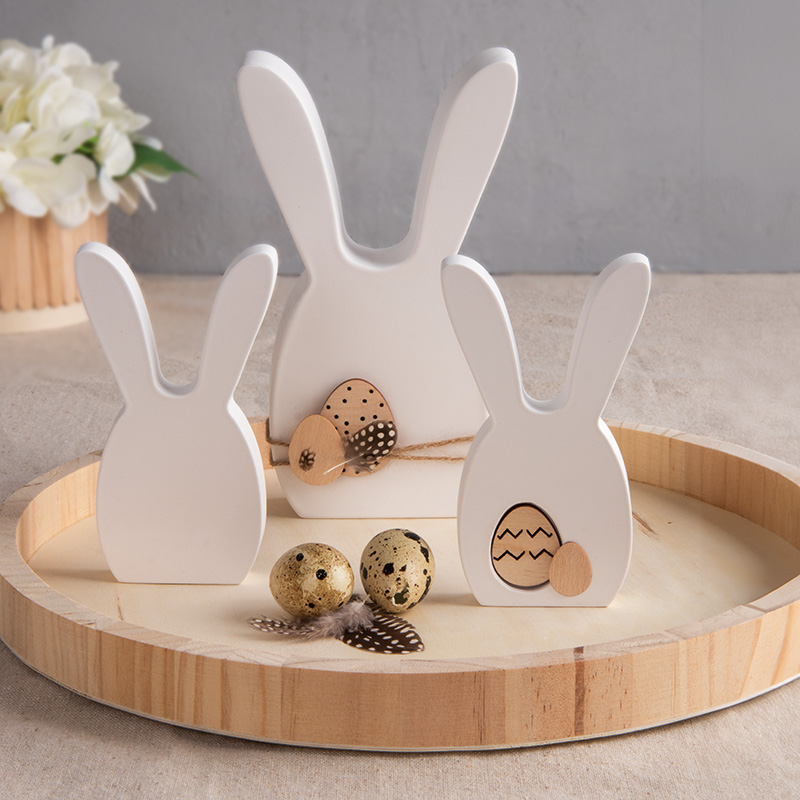
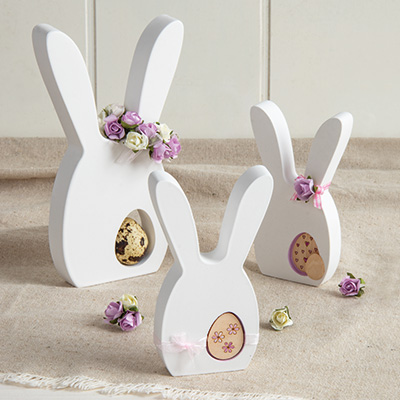
The third bunny does not need to be cast with the Nupsi placeholder and decorated.Related craft ideas Looking for similar craft ideas? You can find them here: ![]()
![Difficulty -]()
![]()
![Difficulty -]()
![]()
![Difficulty -]()
Easter with Raysin and wood
DIFFICULTY

Raysin egg with wooden bunny friends
DIFFICULTY
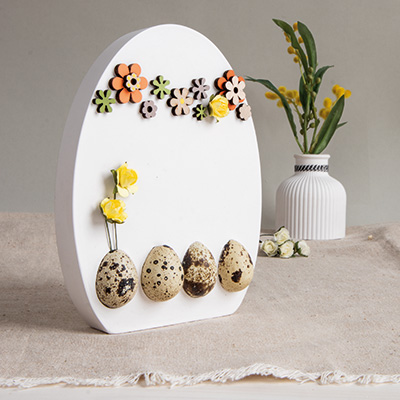
Raysin egg with quail eggs and flower wreath
DIFFICULTY
