


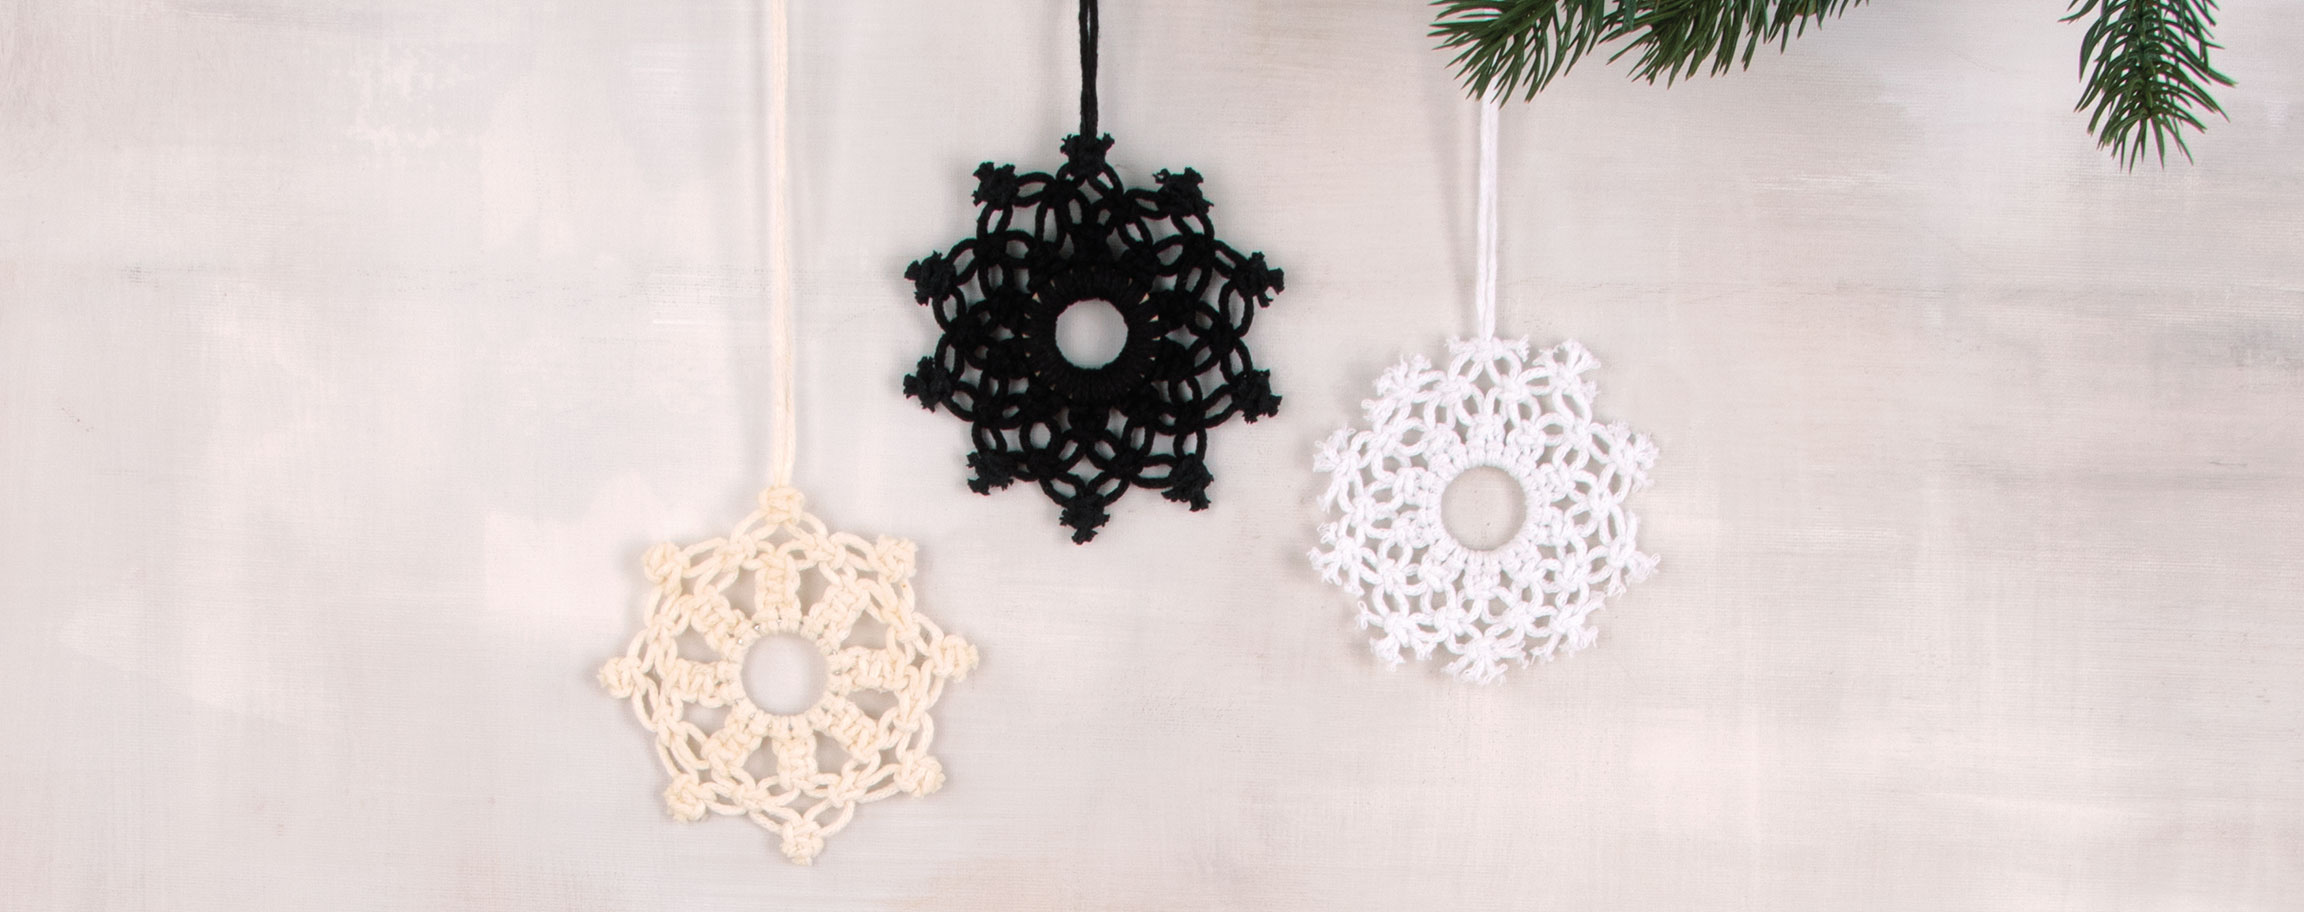


Instructions in 7 steps Yarn, a decorative ring and a little bit of crochet skilfullness are all you need for this self-made snowflake. And this is how it works:
1 ![]()
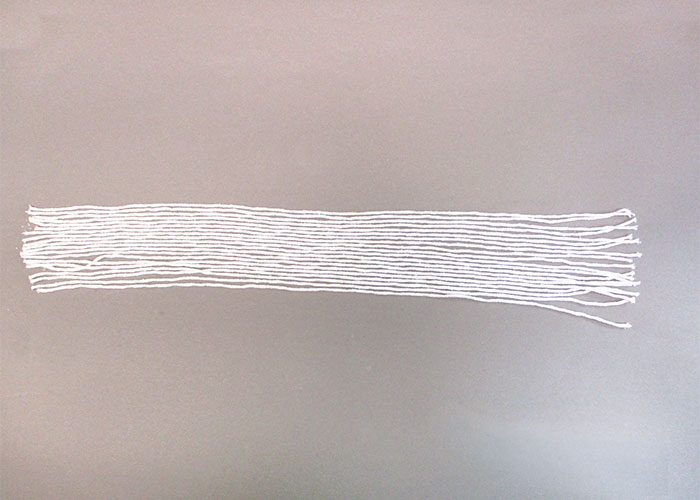
Step 1
Cut out 20 × 0.50 m of Braidy recycling yarn.2 ![]()
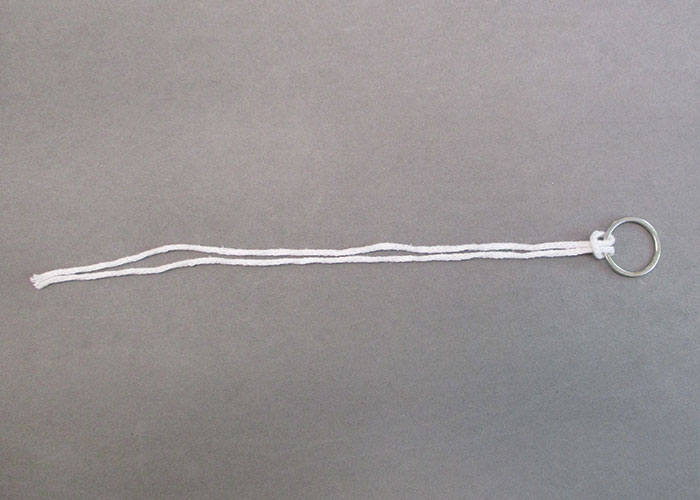
Step 2
Lay the yarns twofold and pull the closed end through the metal ring. Pull the ends of the yarn through the resulting loop.3 ![]()
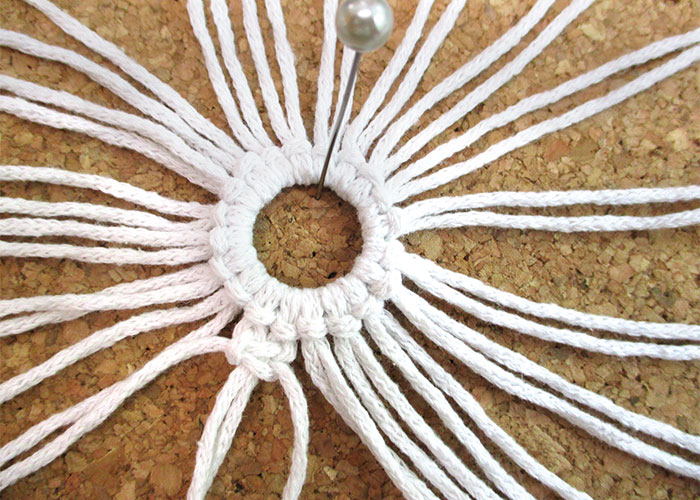
Step 3
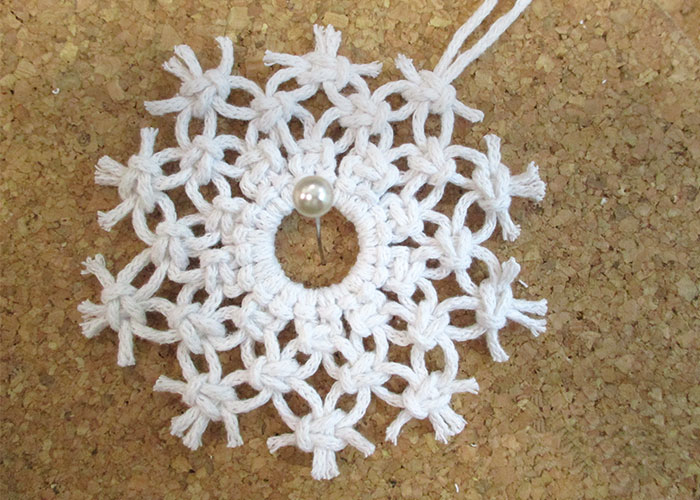
Attach all strands to the decorative ring. Pin the decorative ring to a cork base by means of the pearlized head straight pin.4 ![]()
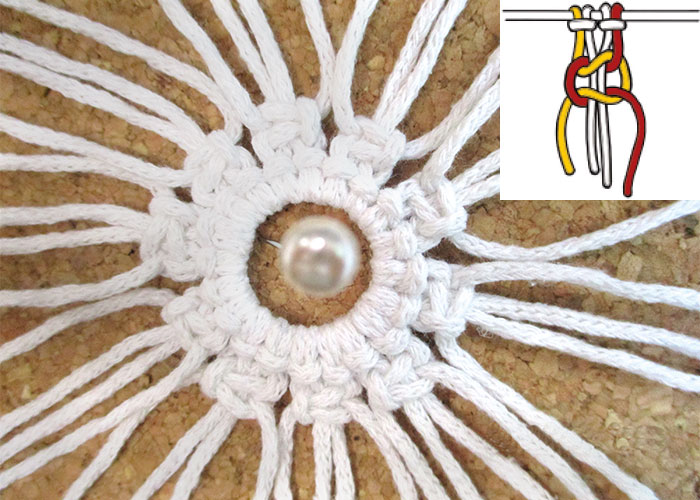
Step 4
With 4 cords, tie a reef knot. For the first row, you need 10 reef knots.5 ![]()
Step 5.1
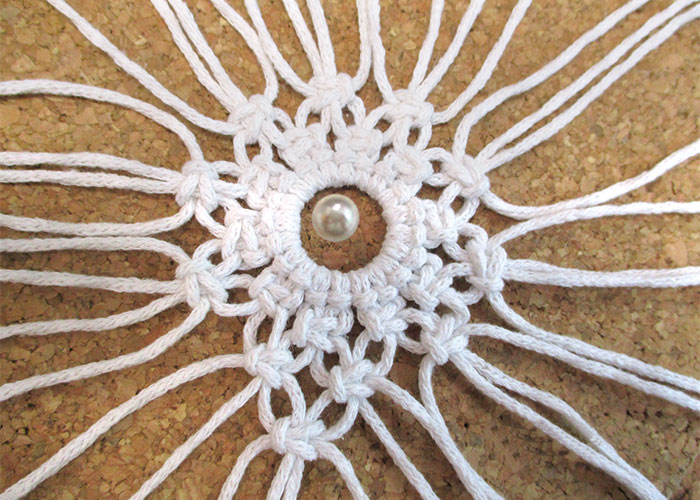
For the 2nd and 3rd row, tie together half of each of the two knots to the reef knots and do not tighten them too tightly.6 ![]()
Step 5.2
(5.1)7 ![]()
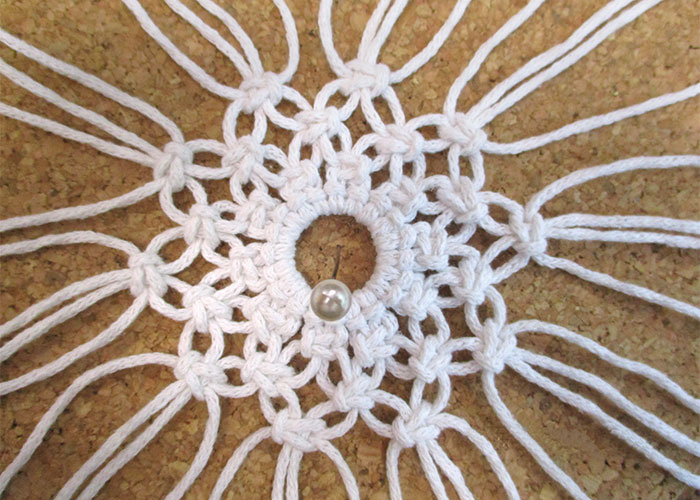
Step 6
Now cut the cords off, except for 2 pieces, which are later used to form the hanger.Related craft ideas Looking for similar craft ideas? You can find them here: ![]()
![Difficulty -]()
![]()
![Difficulty -]()
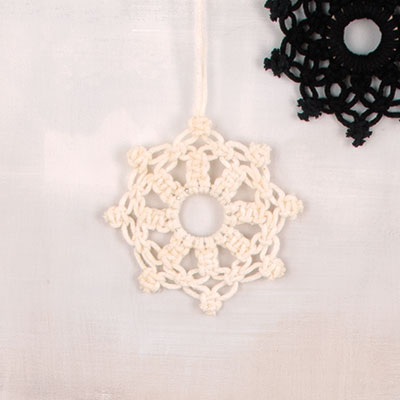
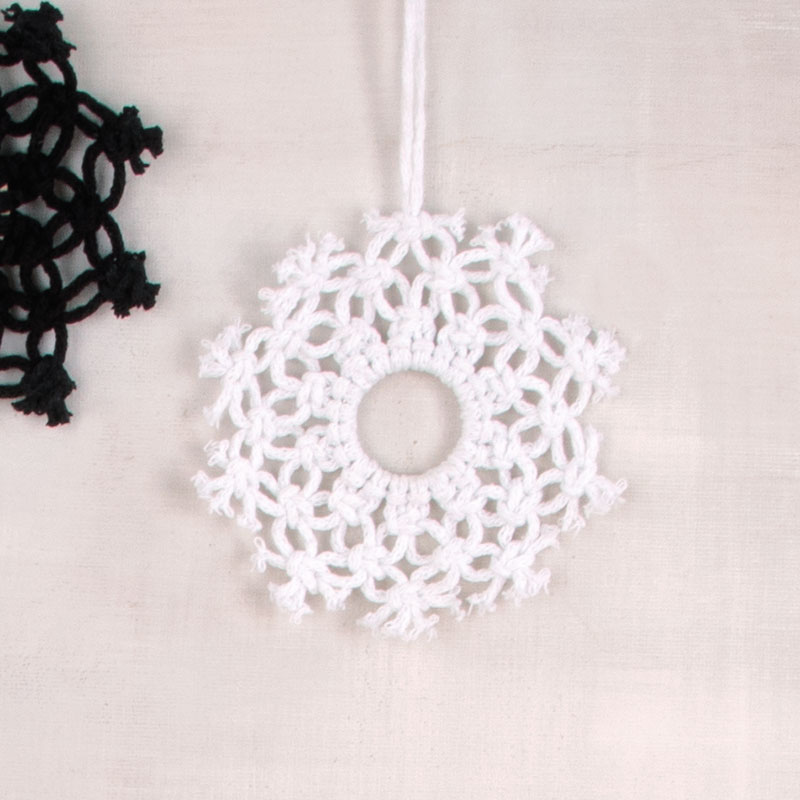
Snowflake, natural
DIFFICULTY

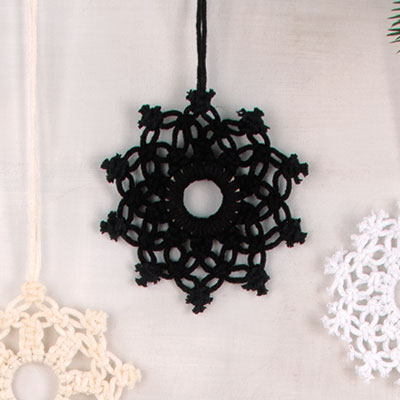
Snowflake, black
DIFFICULTY