


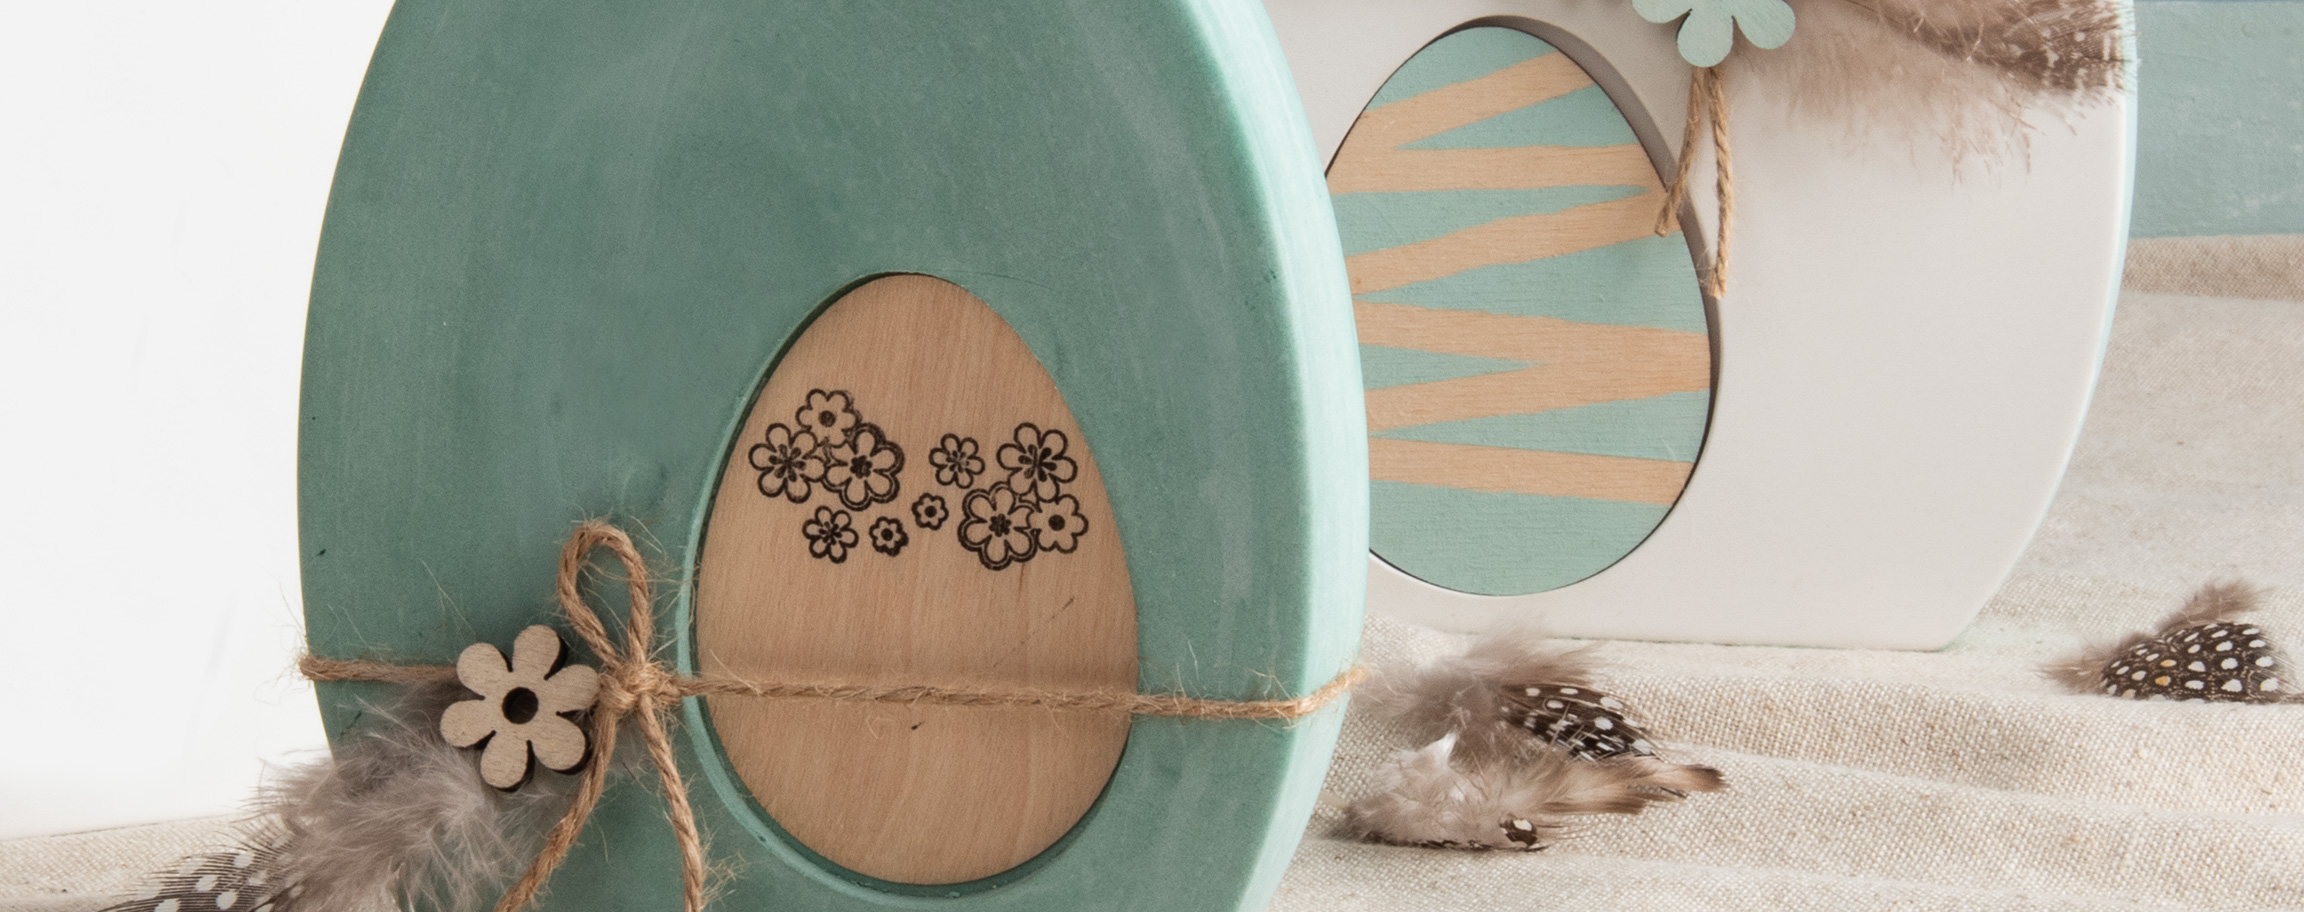


Instructions in 5 steps Nupsi placeholders are cast inside the casting mould. Once demoulded, there is enough space for inserting the perfectly fitting wooden eggs.
Besides the articles listed below, you also need: Scissors, hot-melt glue, acrylic stamp block, needle/tweezers, double-sided adhesive tape, mixing vessel, paintbrush
And this is how it works: 1 ![]()

Step 1
Prior to casting, prepare the casting mould with the Nupsi placeholder as advised. Stick 3-4 pieces of double-sided adhesive tape to one side of the Nupsi placeholder. Then remove the protective foil from adhesive tape and place the Nupsi placeholder on the bottom right or left of your casting mould. Leave clear space of at least 1 cm from the bottom rim.2 ![]()
Step 2
You can now proceed to the pouring of the casting compound. Mix Raysin moulding powder according to the instructions on the pack. If you want to cast a coloured egg, mix Raysin casting powder with the colour pigment of your choice. You'll need more water in that case.Advice: To start with, pour in only half the amount of water and stir in the colour pigments until combined.
3 ![]()
Step 3
Pour the mixed casting compound slowly into the already prepared casting mould. Wait at least 1 hour before demoulding. Carefully remove the Nupsi placeholder from the egg using a small needle or tweezers. Allow the egg to dry overnight.4 ![]()
Step 4
As for the decoration, you can paint and stamp the Easter egg made of wood or veneer wood. In this instance, the wooden Easter egg was covered with strips of adhesive tape before being painted. Then glue the egg in the oval hole using the glue fix pen and allow to dry again.5 ![]()
Step 5
To cap it all, decorate your eggs with the jute cord, feathers and wooden flowers.Related craft ideas Looking for similar craft ideas? You can find them here: ![]()
![Difficulty -]()
![]()
![Difficulty -]()
![]()
![Difficulty -]()
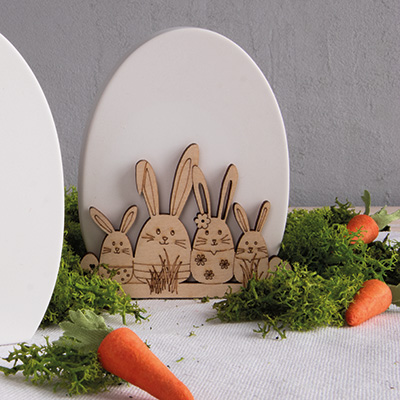
Raysin egg with wooden bunny friends
DIFFICULTY

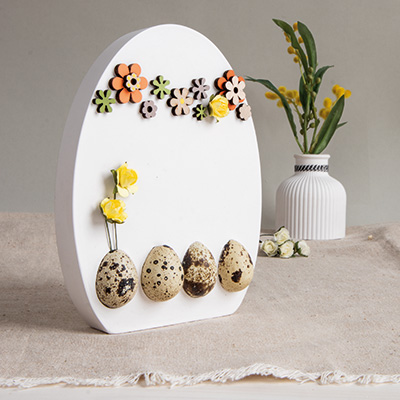
Raysin egg with quail eggs and flower wreath
DIFFICULTY

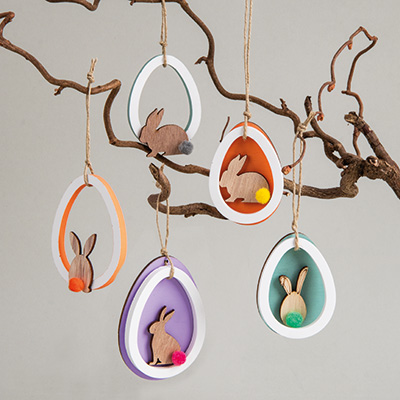
Colorful egg pendant with wooden bunny
DIFFICULTY