


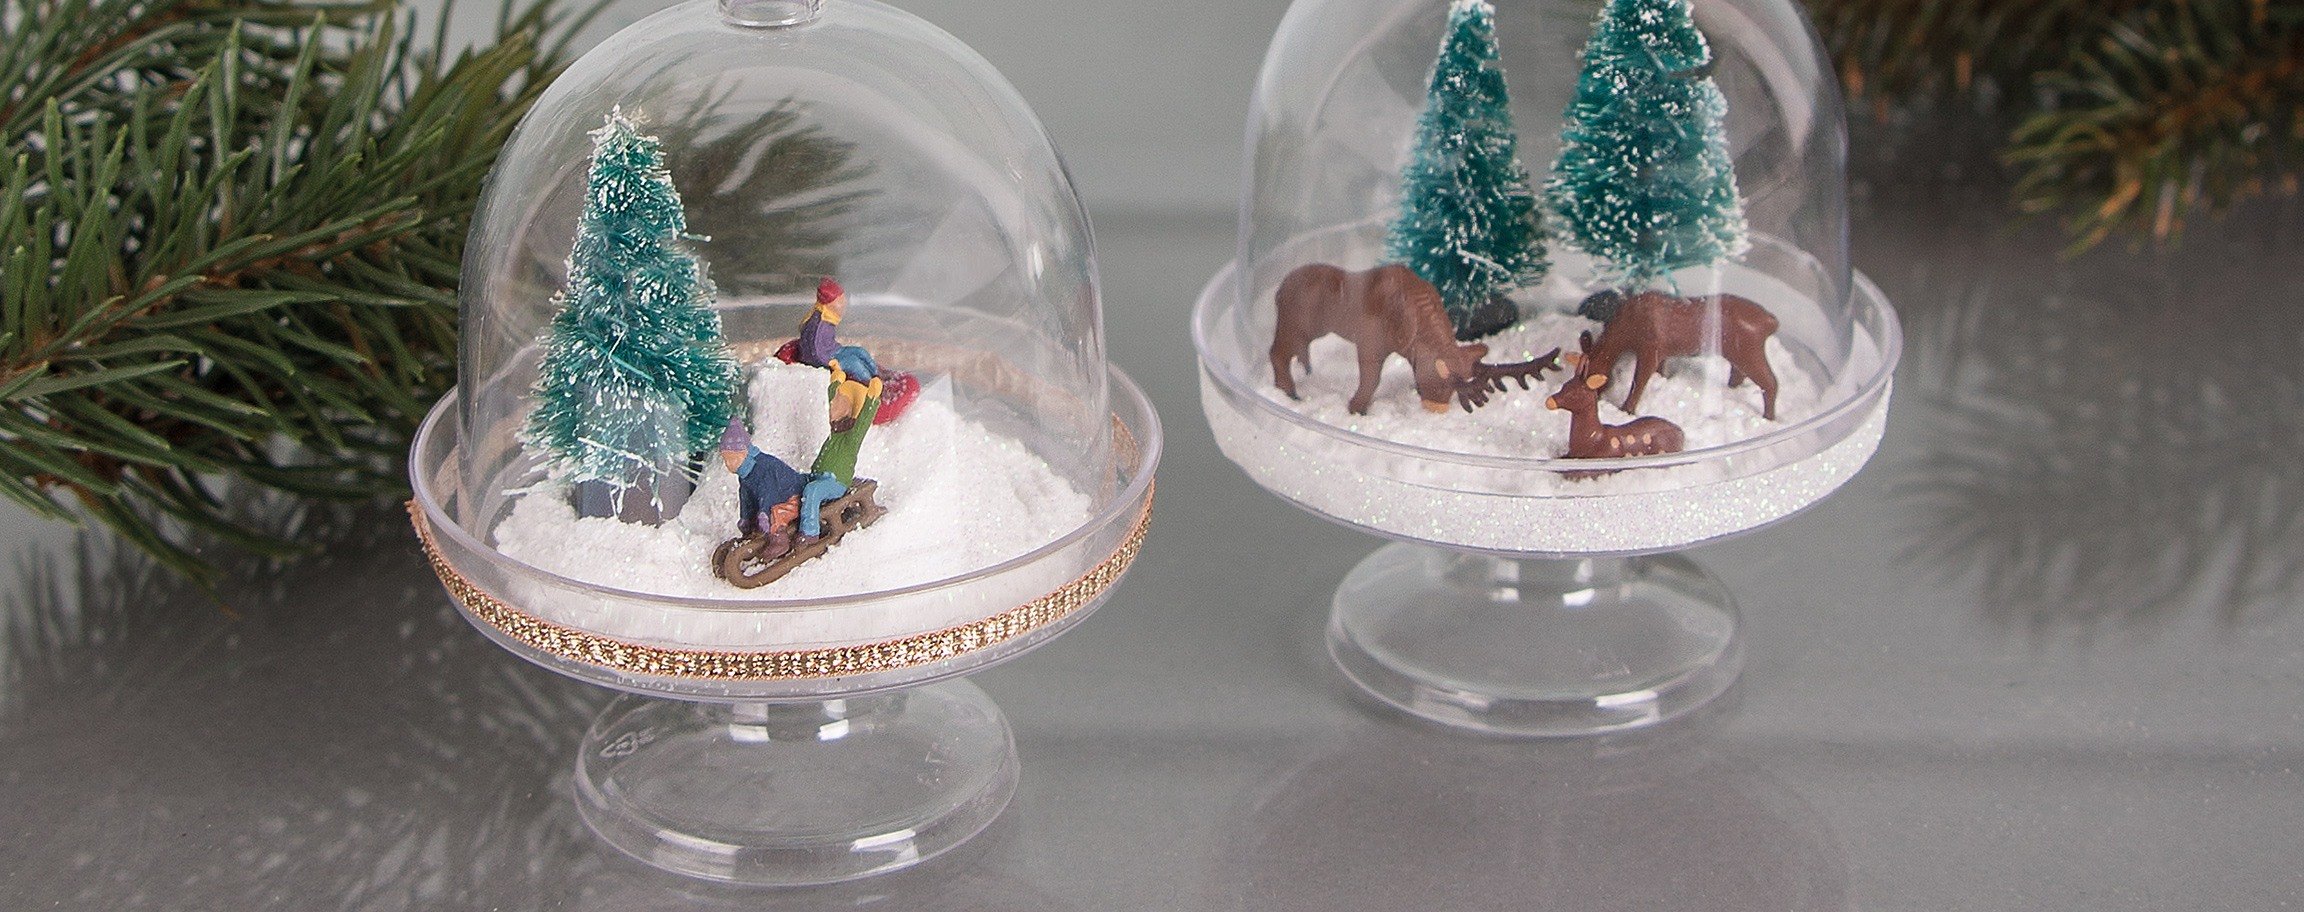
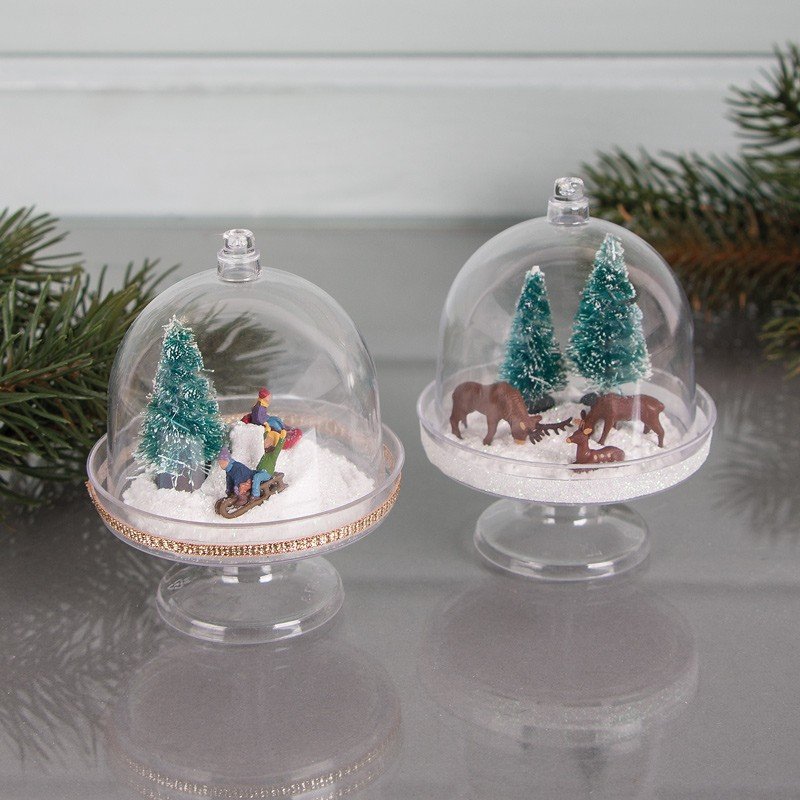


Instructions in 5 steps Mini winter wonderlands to contemplate. With textured snow and a bit of glitter dust, you can quickly embellish your personal winter wonderland. And this is how it works:
1 ![]()

Step 1
Take the modelling snow out of the bag by means of the metallic spatula and model it in the form of a hill and a snowy landscape as a ground. At the stand with the sledder, trace the tracks of the toboggan run.2 ![]()
Step 2
Strew the effect-glitter over the still wet modelling snow. Now, push slightly the sledder, the trees and the deer into the modelling snow. Let it all dry well out overnight.3 ![]()
Step 3
Now, stick onto the rim of the mini stand cake, at first the double-sided adhesivetape, then affix thereon the lurex tape.4 ![]()
Step 4
Stick the glitter tape onto the other mini stand cake. Regarding the glitter tape, it is recommended to halve the tape and work with a width of 4 mm. This results in fewer wrinkles when covering with the adhesive tape. To seal the dome bell, you can use small pieces of the double-sided adhesive tape.5 ![]()