


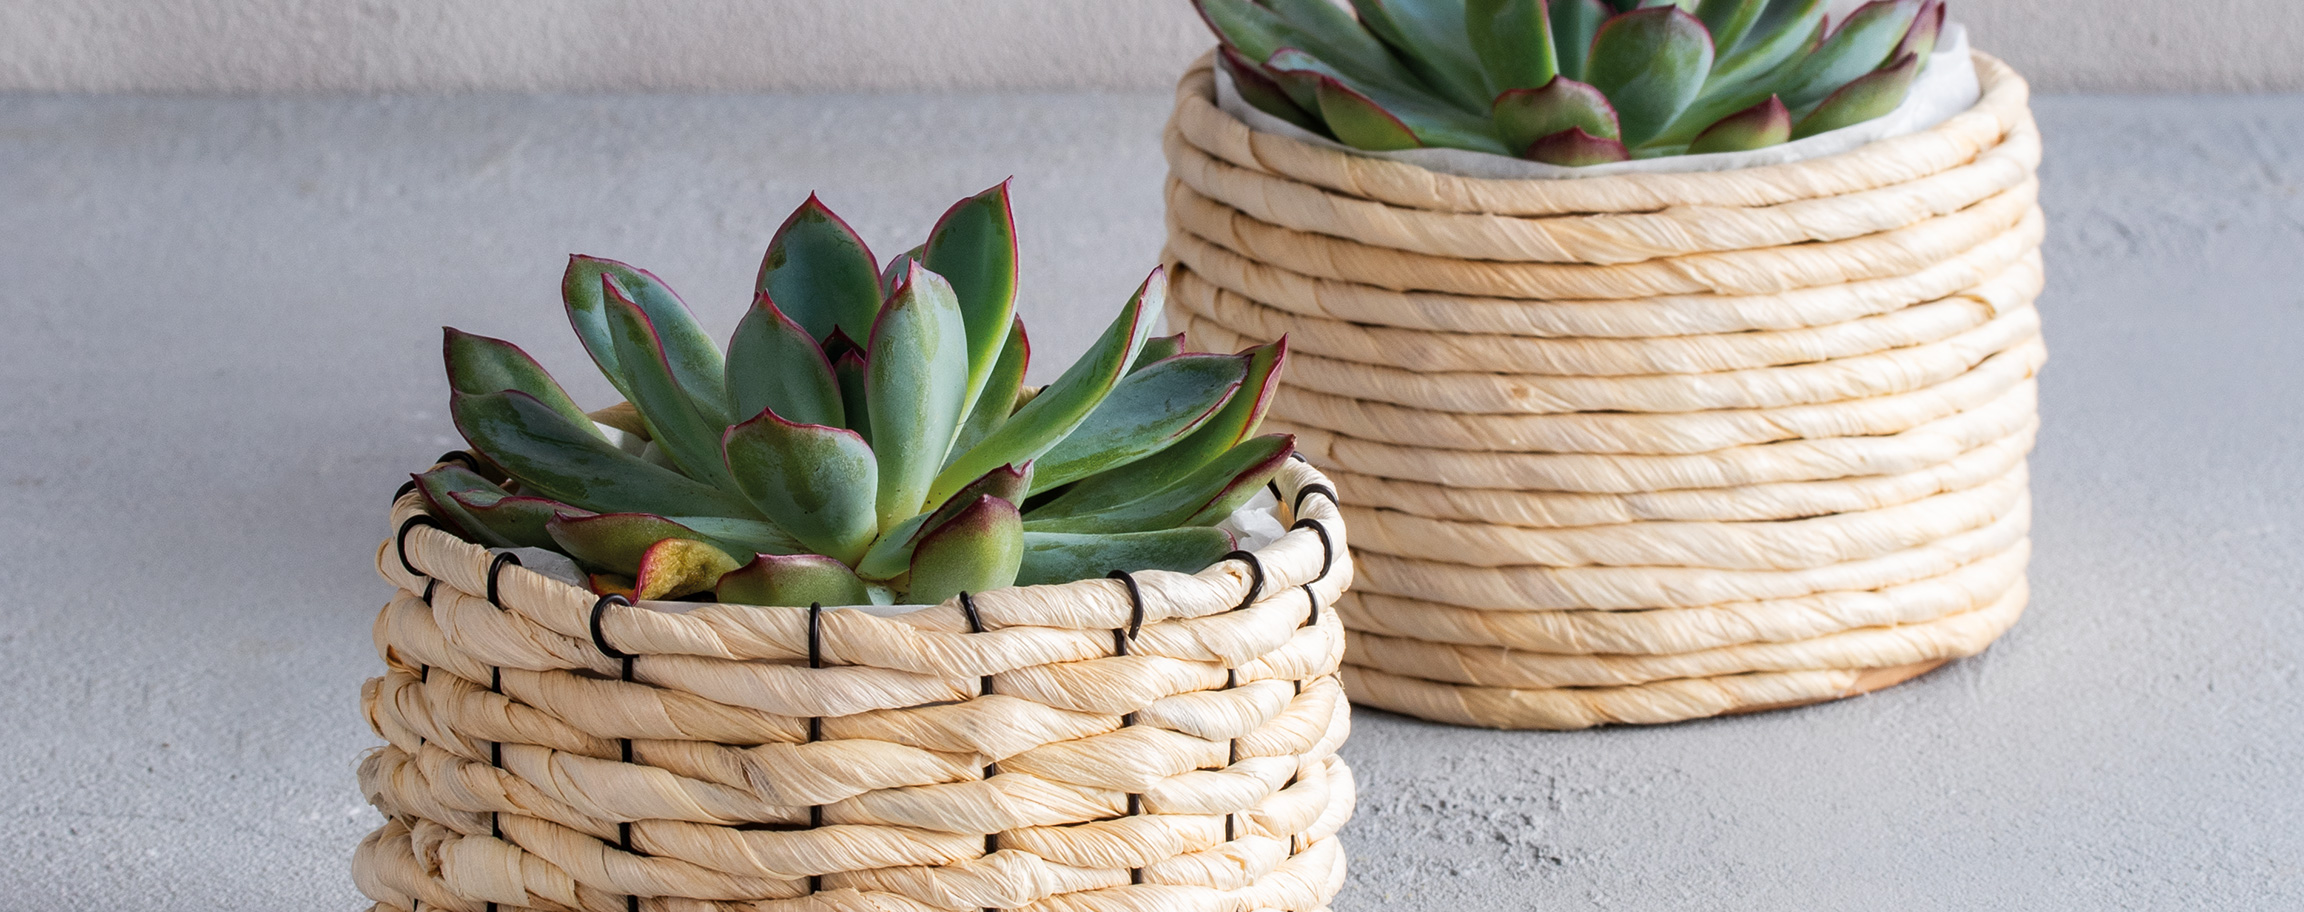
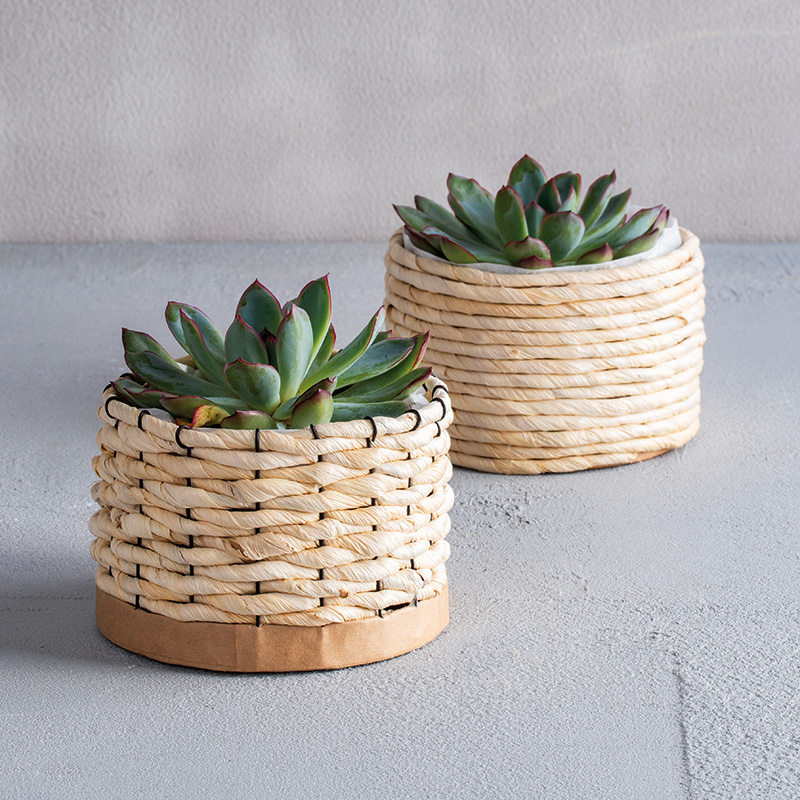


Instructions in 7 steps Two planters are obtained from a single papier-mâché box. The flexible corn leaves rope
is wound around the box. And its lid gives rise to one more planter by passing the corn leaves rope through the stem wires.
Besides the articles listed below, you also need: Hot-melt glue, wire cutters, round needle-nose pliers, scissors
And this is how it works: 1 ![]()

Step 1 - Braided planter
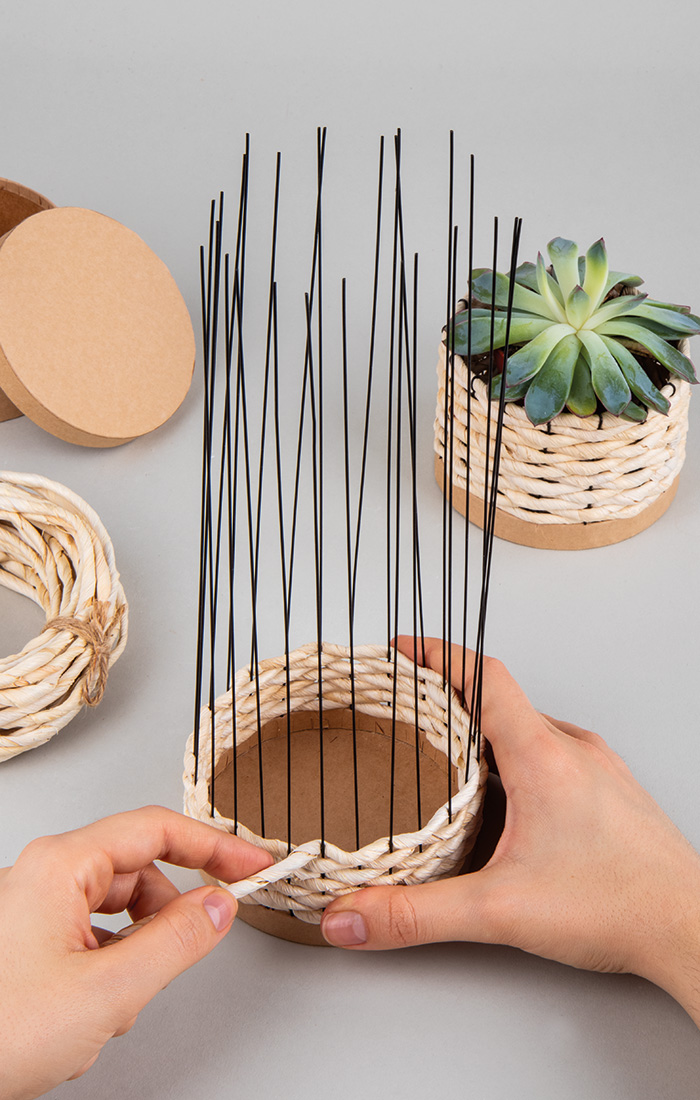
Cut a total of 17 threads 10 cm long from the stem wires.2 ![]()
Step 2 - Braided planter
The lid of the papier-mâché box is intended to serve as the bottom of the planter. Carefully insert the 17 stem wires into the rim of the lid, spacing them about 2 cm apart.3 ![]()
Step 3 - Braided planter
Pass the corn leaves rope through the stem wires until a height of 6 cm is reached.4 ![]()
Step 4 - Braided planter
Using the round needle-nose pliers, bend each stem wire into a curve to secure them in place and create a fine finish.5 ![]()
Step 1 - Wound planter
The corn leaves rope needs to be firmly attached by applying hot-melt glue to the winding start point on the bottom edge of the papier-mâché box. The corn leaves rope needs to be firmly attached by applying hot-melt glue to the winding start point on the bottom edge of the papier-mâché box.6 ![]()
Step 2 - Wound planter
Each winding around the box must be fixed using hot-melt glue. Continue with the winding to the edge, then make another winding turn so that the box is no longer visible.7 ![]()
Step 3 - Wound planter
Cut the corn leaves rope slantwise and secure the end of the rope winding by means of the hot-melt glue.Related craft ideas Looking for similar craft ideas? You can find them here: ![]()
![Difficulty -]()
![]()
![Difficulty -]()
![]()
![Difficulty -]()
Test tube decoration with Viennese rattan wickerwork
DIFFICULTY

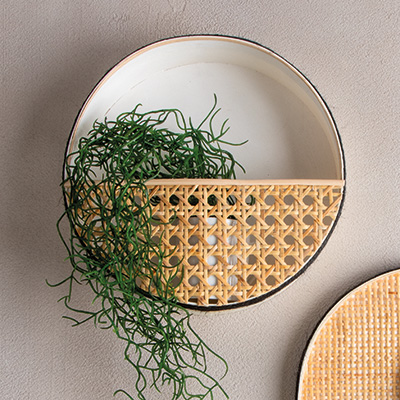
Wall hanging decor with Viennese rattan weave and flower pot
DIFFICULTY

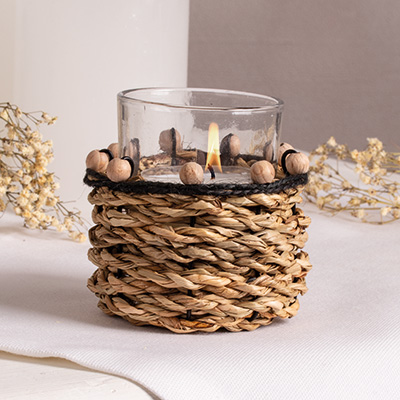
Glass tealight holder with seagrass rope
DIFFICULTY
