


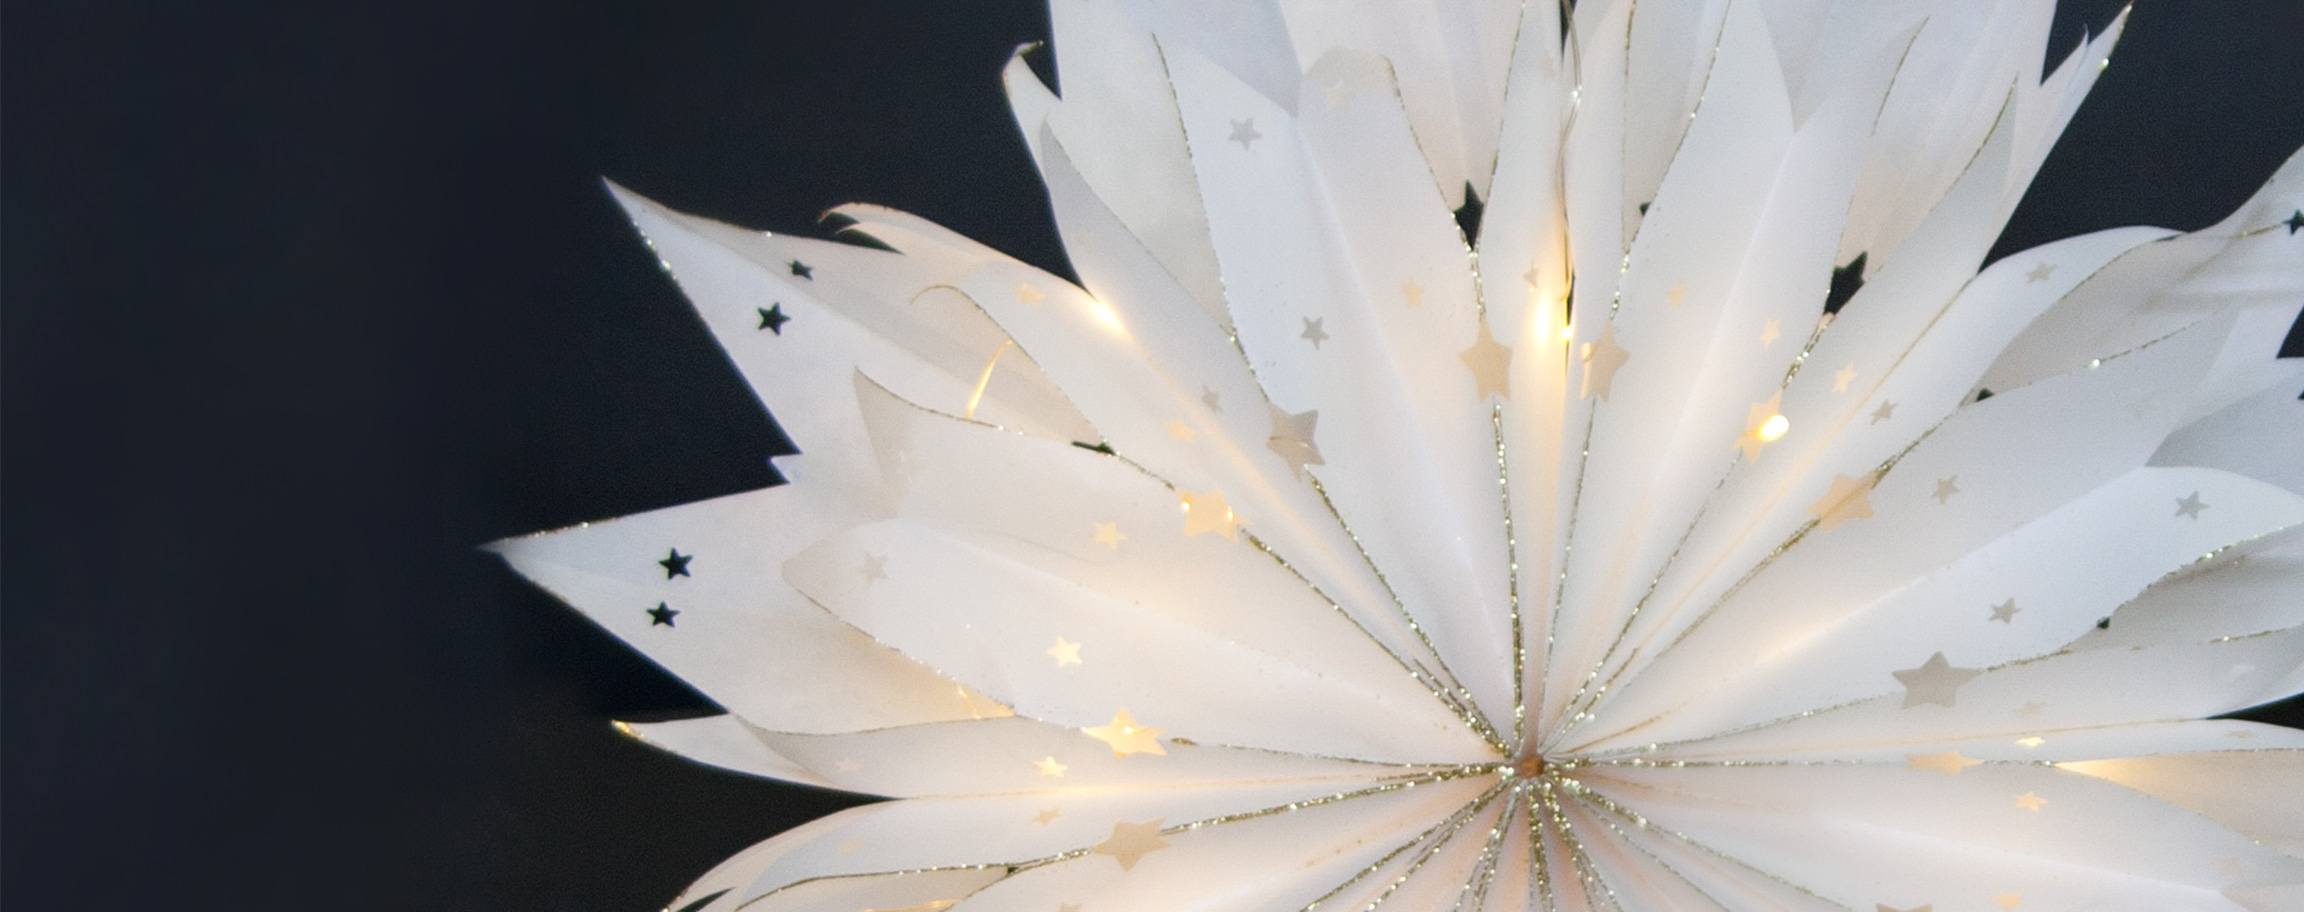
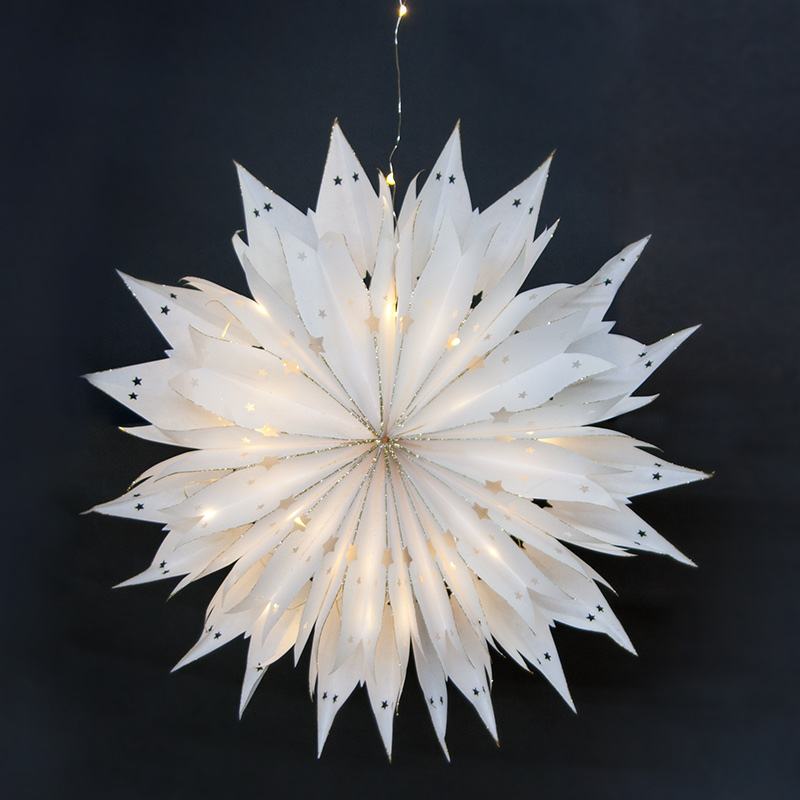


Instructions in 12 steps Transfer the pattern onto the white paper bags. Cut them precisely to size with the aim of creating a great paper star. Once illuminated and decorated, it spreads a wonderful light.
Besides the articles listed below, you also need: Pencil, Batteries: 2 × lithium-button cells 3V
And this is how it works: 1 ![]()

Step 1
Copy the stencil from the cutting-pattern onto a sturdy cardboard and cut it out according to the template.2 ![]()
Step 2
Lay the stencil onto the paper bag (flap facing up) and fix the stencil at the lower rim of the paper bag by means of a brass money clip.3 ![]()
Step 3
Trace the stencil by a pencil. Mark the spots of the star and the fir tree. Remove the stencil.4 ![]()
Step 4
Now cut along the accurately defined markings.5 ![]()
Step 5
Punch the star and the tree with the respective motif-punchers out. Repeat it until the specified quantity of bags is reached. You need 9 paper folding bags for the star.6 ![]()
Step 6
Trace the outer edges of all bags with the golden stamp pad.7 ![]()
Step 7
Affix along bag’s midst and lower rim of the bags (see illustration) a strip of a double-sided adhesive tape. Leave the last bag out.8 ![]()
Step 8
Stick the bags together evenly one above the other, so that a stack is formed.9 ![]()
Step 9
Affix the magnets with a white sticker (see markings) at the inner side of the first & last bag.10 ![]()
Step 10
Now, spread the craft glue with sponge on the folded star at its long and short side, and scatter the golden sequins over the still wet glue.11 ![]()
Step 11
Finally, unfold the star straightaway (so it does not stick together) and let it dry.12 ![]()
Step 12
To suspend the star, pierce a small hole through a star-tip by means of a needle and thread for e.g. a nylon thread or a thin strip/cord through it.Related craft ideas Looking for similar craft ideas? You can find them here: ![]()
![Difficulty -]()
![]()
![Difficulty -]()
![]()
![Difficulty -]()
![]()
![Difficulty -]()
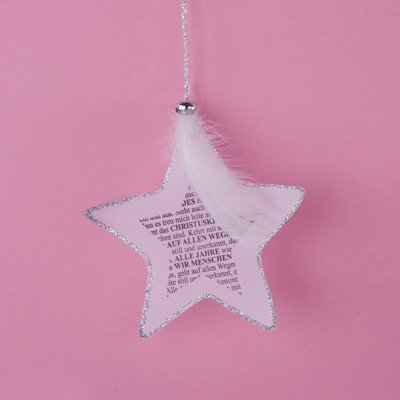
Paper hanger
DIFFICULTY

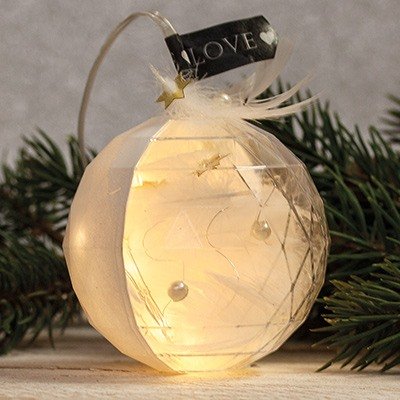
Faceted luminous ball
DIFFICULTY

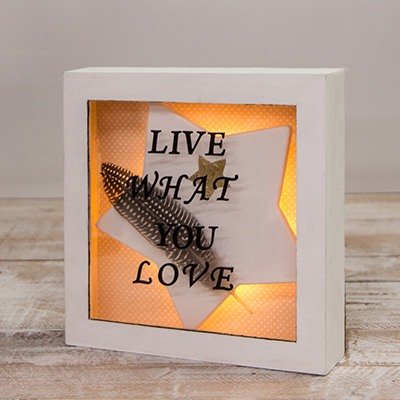
Illuminated wooden frame
DIFFICULTY

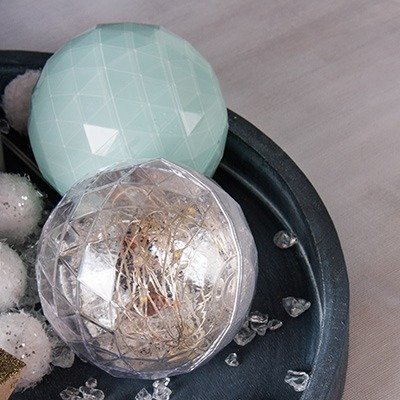
Mint-green and glowing ball on a wooden tray
DIFFICULTY