


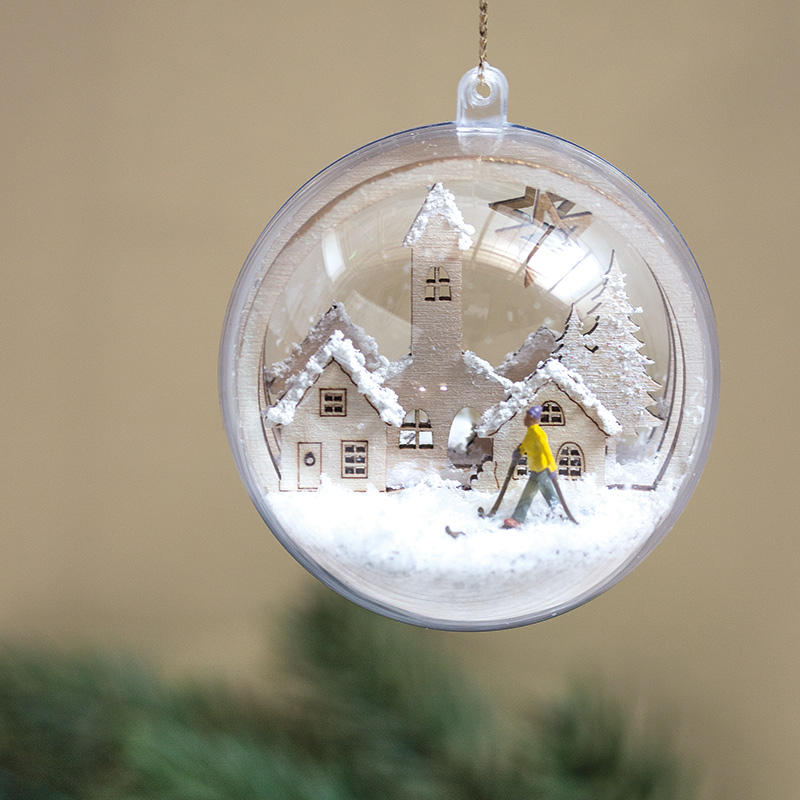


Instructions in 15 steps A winter story inside a plastic ball to hang up and admire. And this is how it works:
1 ![]()
Step 1
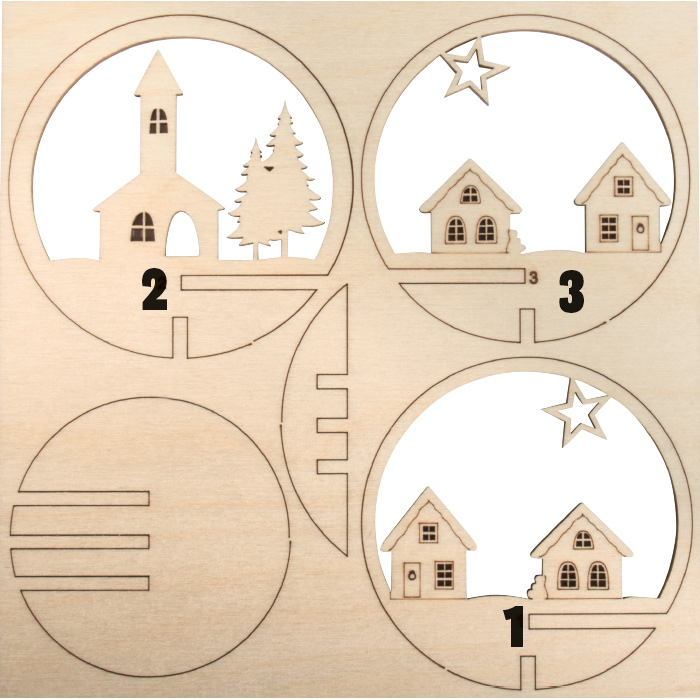
Tear off carefully all punched pieces.2 ![]()

Step 2
Firstly, paint the round cut-out sheet (round sheet with the 3 notches) with the white All Purpose paint by the means of the brush. Let it dry out.3 ![]()
Step 3
Insert the sheet no.1 into the first notch of the cut-out sheet to define the position of the skier with the pencil.4 ![]()
Step 4
Stick the plastic miniature Skier on with the adhesive pen.5 ![]()
Step 5
Work on all roofs and trees (front & back) with the modelling snow and the iridescent sequin spangles.6 ![]()
Step 6
Paint the stars on both sides with the metallic brilliant gold paint.7 ![]()
Step 7
Slide the sheet no.2 with the church into the middle slot of the cut-out sheet by means of the adhesive pen.8 ![]()
Step 8
Then spread some modelling snow along the plug-in border.9 ![]()
Step 9
Now, slide the sheets no.1 and no.3 into the painted cut-out sheet, affix them with the adhesive pen.10 ![]()
Step 10
As a "stabiliser", slide in the last punched piece into the slot at the bottom of the 3 round circles.11 ![]()
Step 11
Coat the edge with modelling snow as desired.12 ![]()
Step 12
Paint the 3 circles on the outer edge with the metallic brilliant gold paint.13 ![]()
Step 13
Insert the finished winter village into the lower half of the plastic ball and sprinkle some snowflakes onto the gaps at the lower part of the cut-out sheet according to your wishes.14 ![]()
Step 14
Put and close carefully the upper half of the plastic ball.15 ![]()
Step 15
Thread the golden cord through the hanging hole and knot it together.Related craft ideas Looking for similar craft ideas? You can find them here: ![]()
![Difficulty -]()
![]()
![Difficulty -]()
![]()
![Difficulty -]()
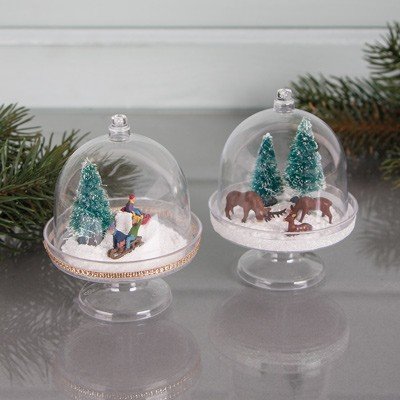
Plastic mini cake stand "winter"
DIFFICULTY

Your story-in a box: Deer & roe deer
DIFFICULTY

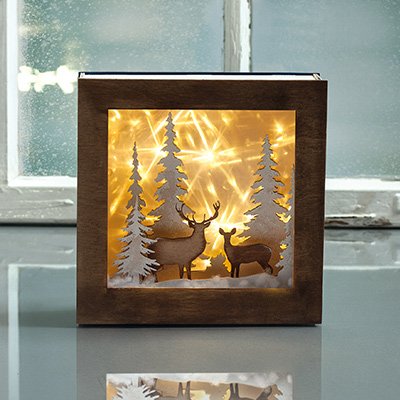
Wooden log „Winter Wonderland“
DIFFICULTY