


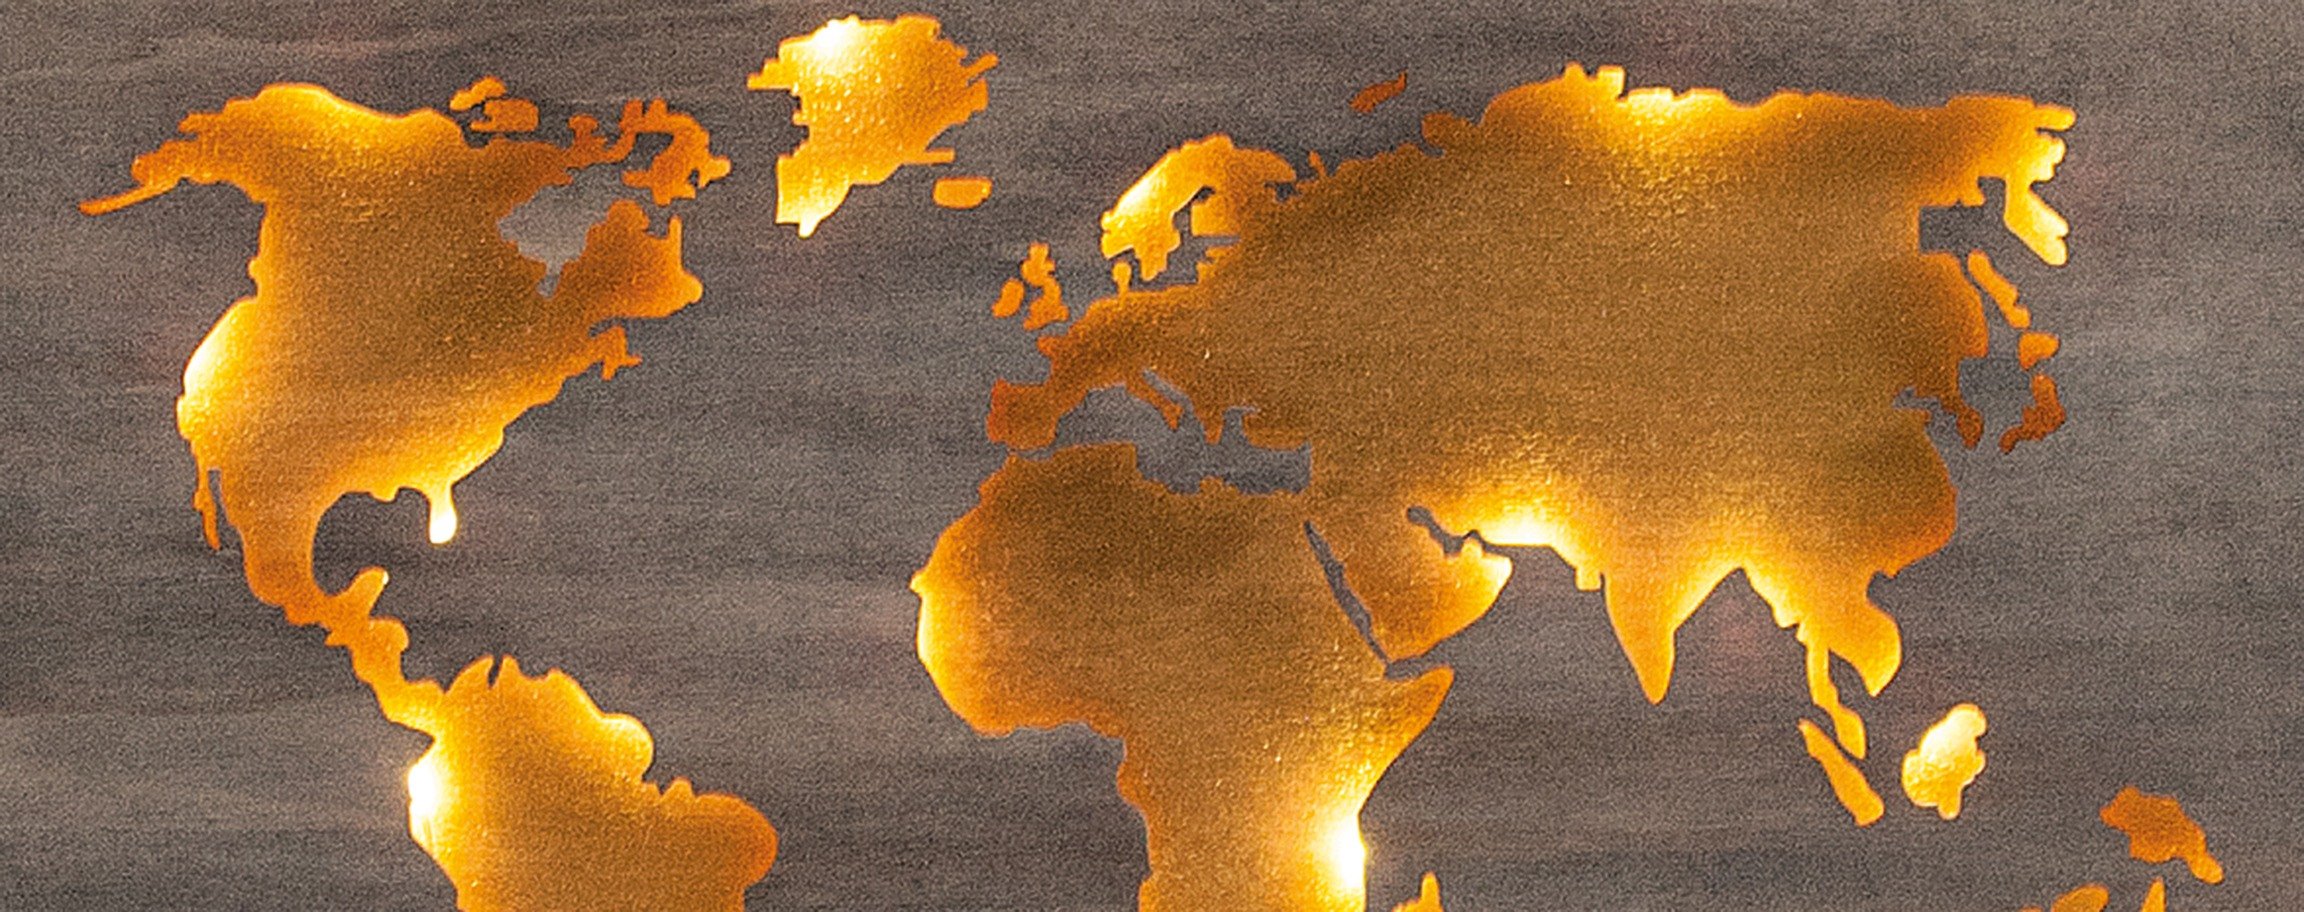
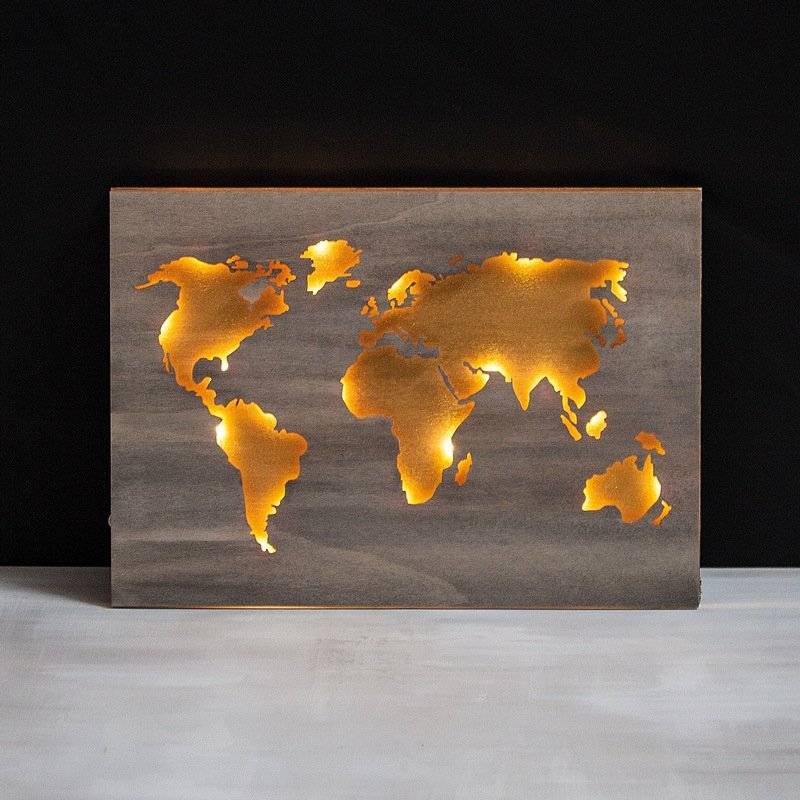


Instructions in 7 steps Die Holz-Weltkarte besteht aus zwei Teilen, die – unterschiedlich bemalt und mit Abstand aufeinander geklebt – zur tollen Deko-Idee werden.
Besides the articles listed below, you also need: Heißkleber, Knopfzellen 2 Stück
And this is how it works: 1 ![]()

Step 1
Take the continents carefully out of the wooden world map.2 ![]()
Step 2
Dip the damp paint pad firstly into the Chalky Finish dark brown cream-wax and wipe it over the entire wooden surface.3 ![]()
Step 3
Dip the used sponge into the Chalky Finish anthracite paint and wipe it irregularly in the damp cream-wax. Use little paint and add always a little water to the sponge in order to avoid thick paint application.4 ![]()
Step 4
Paint the rear side of the wooden pad with the Extreme Sheen gold paint, and wipe its edges with the dark brown cream-wax. Let it dry well out.5 ![]()
Step 5
Affix firmly the fairy lights at the rear side of the world map along the continents by means of the scotch tape.6 ![]()
Step 6
Power the fairy lights with two button cells and fix it then at the edge, so that you can easily switch it ON and OFF.7 ![]()
Step 7
Stick two 3D-adhesive dots together, if necessary add later some hot glue. Place the 3d-adhesive dots on the rear side of the world map and fix that way the two pads together.Related craft ideas Looking for similar craft ideas? You can find them here: ![]()
![Difficulty -]()
![]()
![Difficulty -]()
![]()
![Difficulty -]()
![]()
![Difficulty -]()
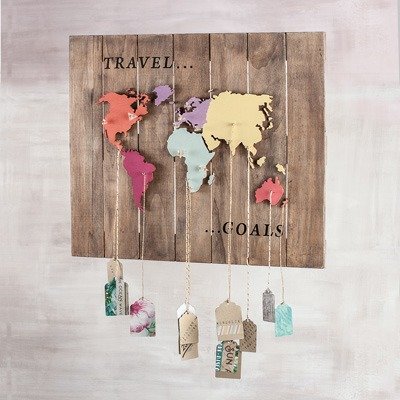
Colorful wooden world map
DIFFICULTY

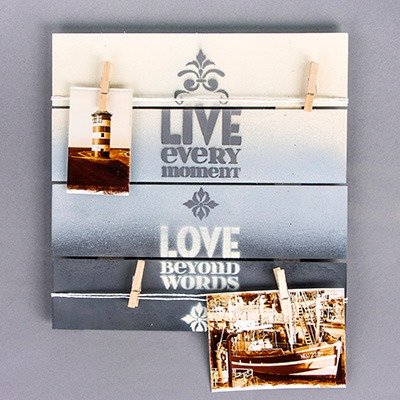
Wooden slatted frame with Chalky Finish spray
DIFFICULTY

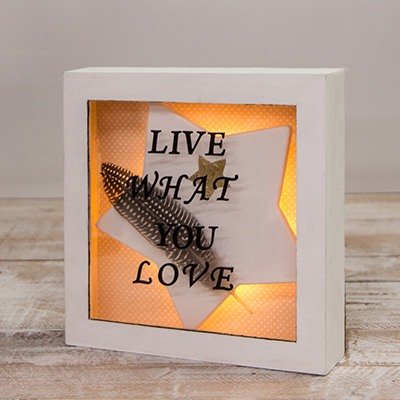
Illuminated wooden frame
DIFFICULTY
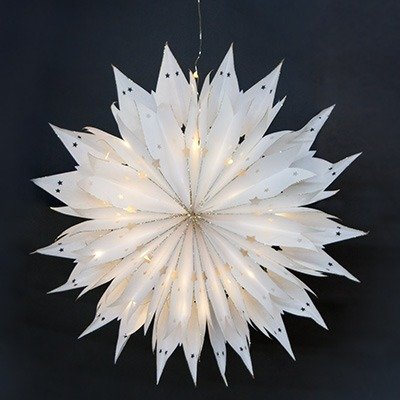
Paper star with fairy lights
DIFFICULTY
