


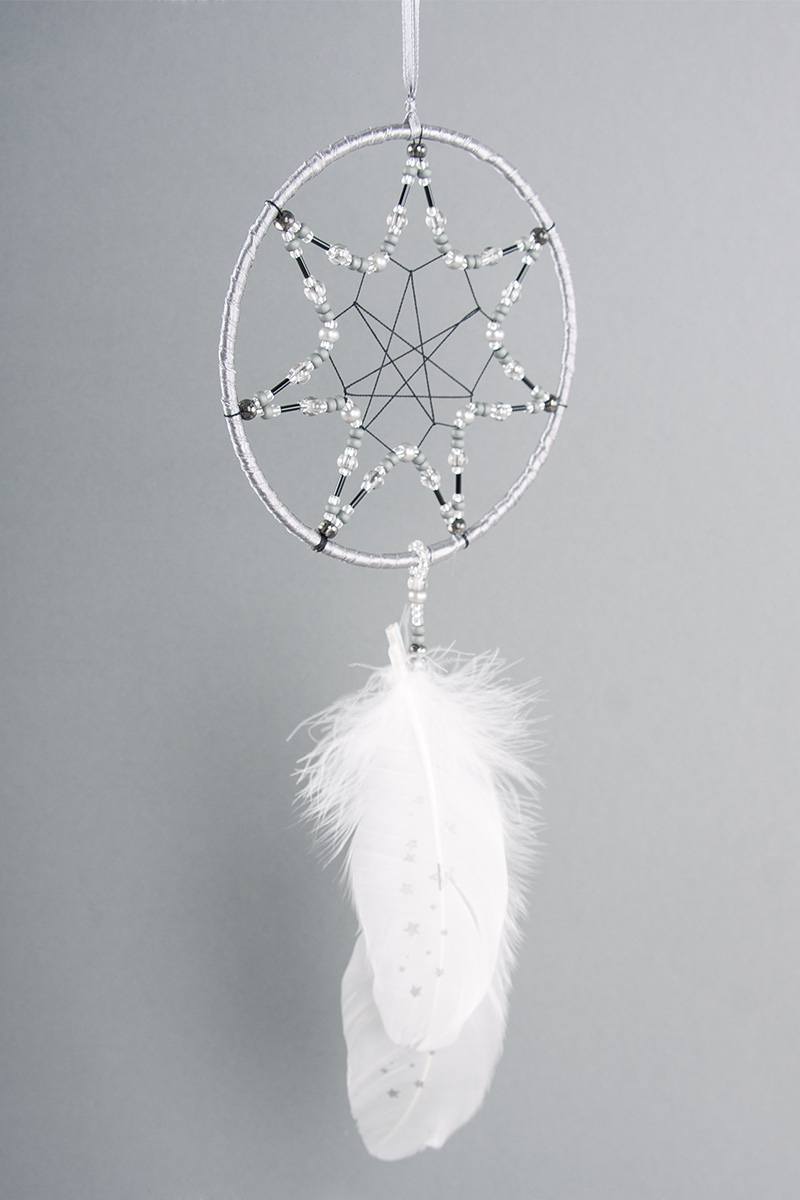


Instructions in 17 steps A few accessories such as a metal ring, satin ribbons, beads and naturally a few feathers are ideal for making your very own dreamcatcher. And this is how it works:
1 ![]()

Step 1
Wrap 3 cm of the double-sided adhesive tape around the ring.2 ![]()
Step 2
Place 1.20 m satin ribbon at an angle and wrap completely the ring around.3 ![]()
Step 3
Knot the 1.60 m threading silk on the ring.4 ![]()
Step 4
The knot shows inwards so secure it with some glue for jewellery.5 ![]()
Step 5
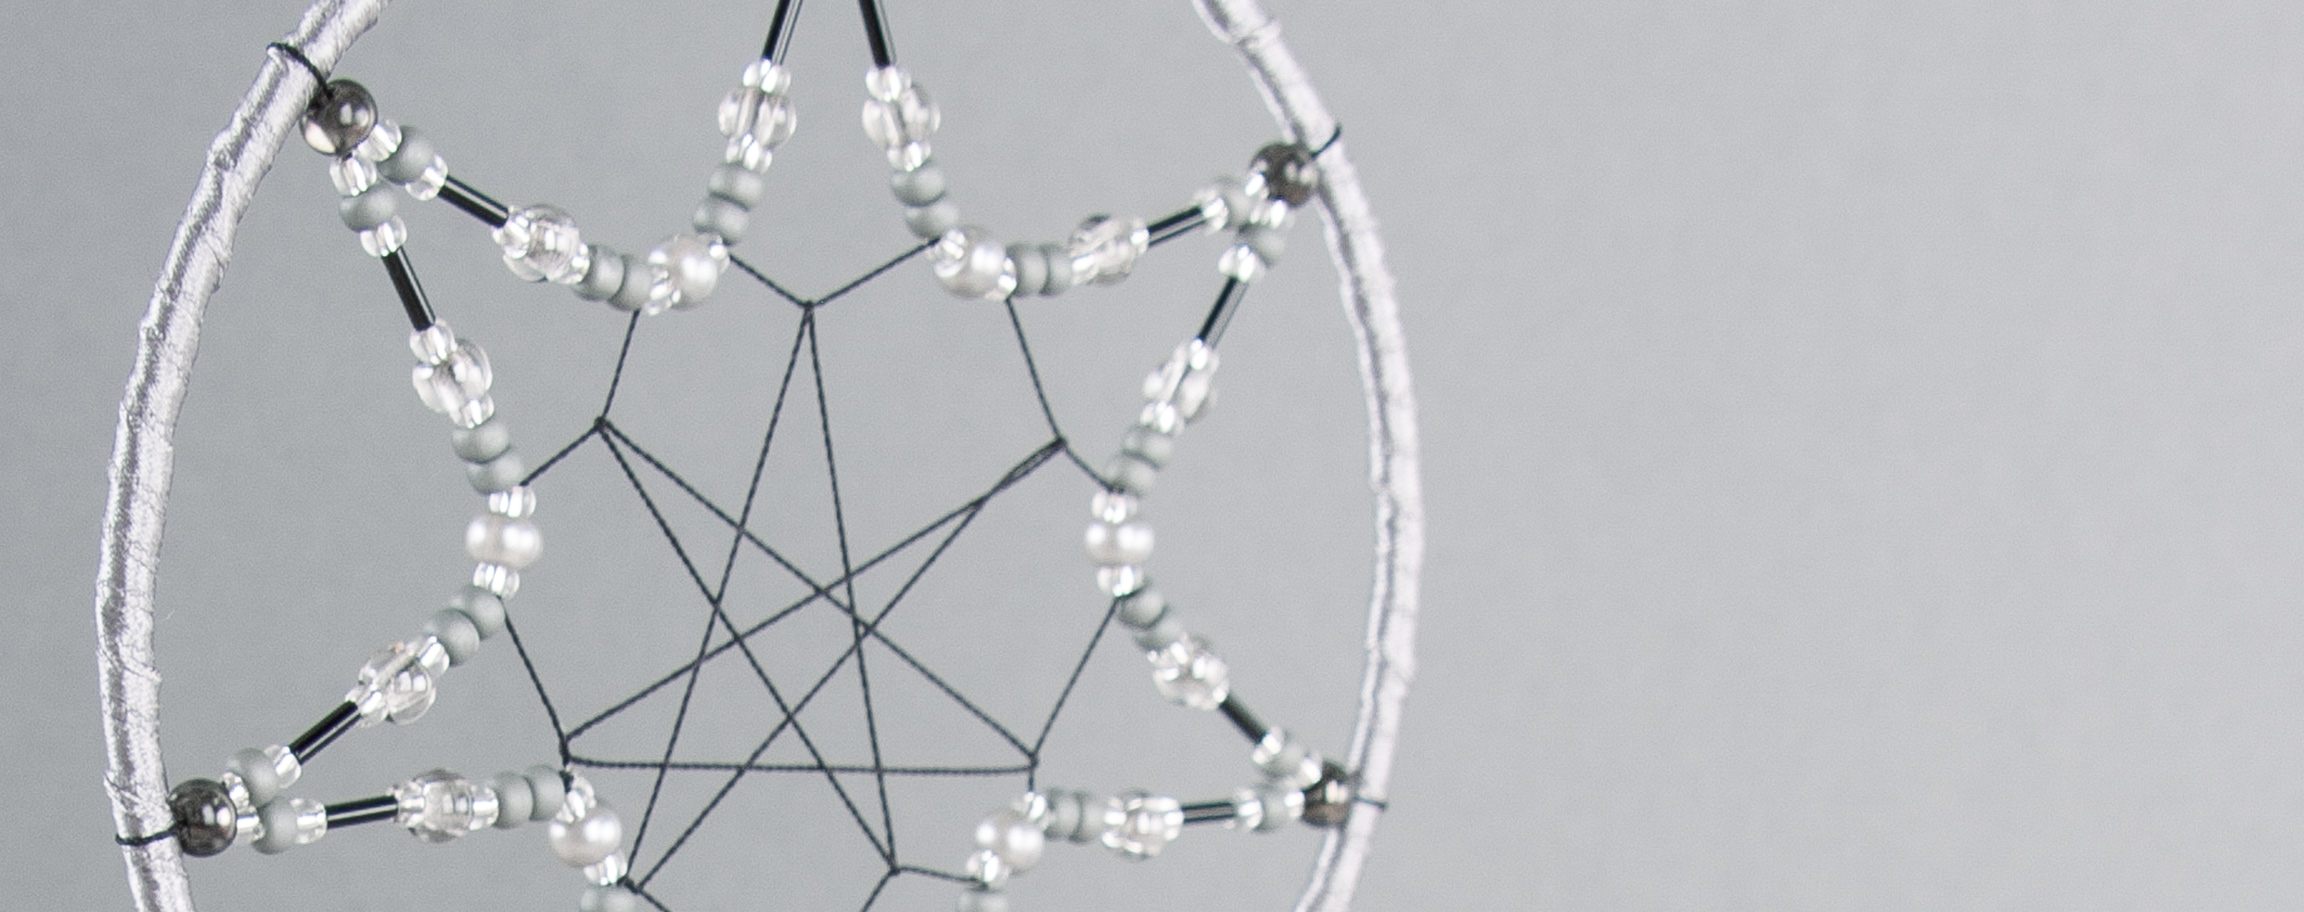
Thread the needle for threading beads, then thread successively the beads on.6 ![]()
Step 6
At a distance of 5cm, place the threading yarn around the ring and then rethread through the last bead, so that you get your first bead arc.7 ![]()
Step 7
Thread the next 6 arcs8 ![]()
Step 8
Thread the end of the last arc through the first bead of the first arc.9 ![]()
Step 9
Now thread back the pearlescent shimmered bead Rocaille through the first arc up to the middle.10 ![]()
Step 10
Continue by threading the next arcs through these 3 beads until the circuit is closed. Now knot the threading yarn.11 ![]()
Step 11
Thread zig-zag until a desirable pattern is reached, then sew up the threading yarn through the bead arc.12 ![]()
Step 12
Sew up the starting thread as well.13 ![]()
Step 13
Thread the yarns of the two deco-feathers into the needle for threading beads.14 ![]()
Step 14
Thread the beads, now thread on the silver-lined 10 Rocailles, place it around the ring and then thread it back through the previously strung beads.15 ![]()
Step 15
Thread again the yarns on the reverse side of the feathers by going through the lowest bead until there is a small loop, put some glue for jewellery on it and pull it through.16 ![]()
Step 16
Cut off the yarn ends, secure also the rests with some glue for jewellery and let it harden.17 ![]()
Step 17
Knot on the upper side a hanger with 0.5m satin ribbon.Related craft ideas Looking for similar craft ideas? You can find them here: ![]()
![Difficulty -]()
![]()
![Difficulty -]()
![]()
![Difficulty -]()
![]()
![Difficulty -]()
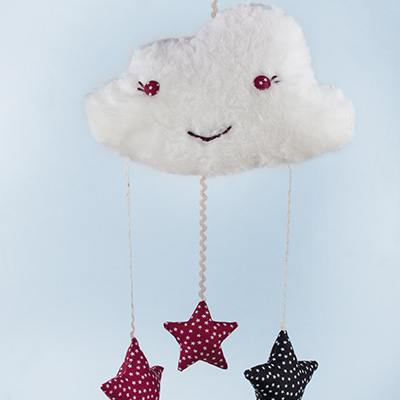
Mobile clouds with stars
DIFFICULTY

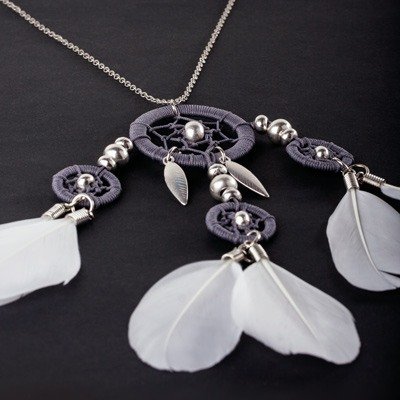
Dreamcatcher necklace
DIFFICULTY

Paper hanger
DIFFICULTY


Deco-dreamcatcher
DIFFICULTY