


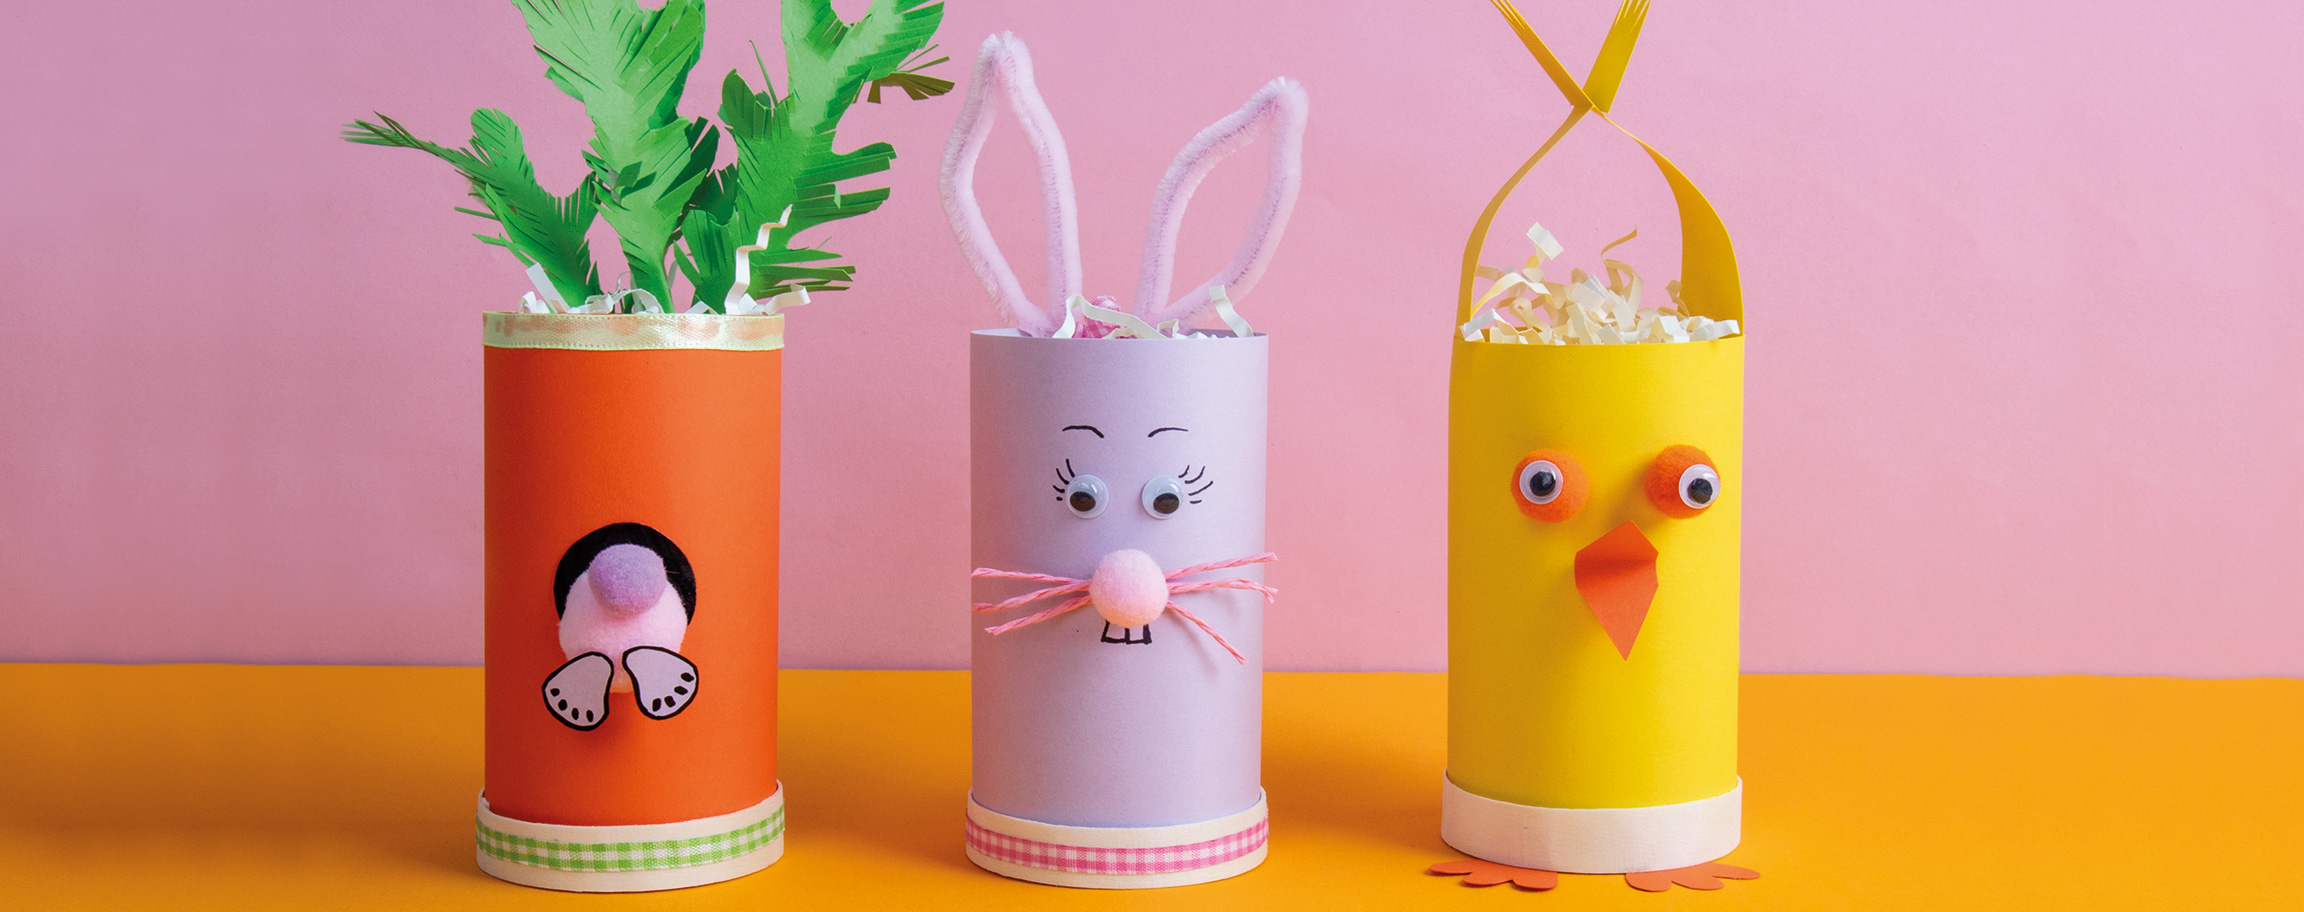
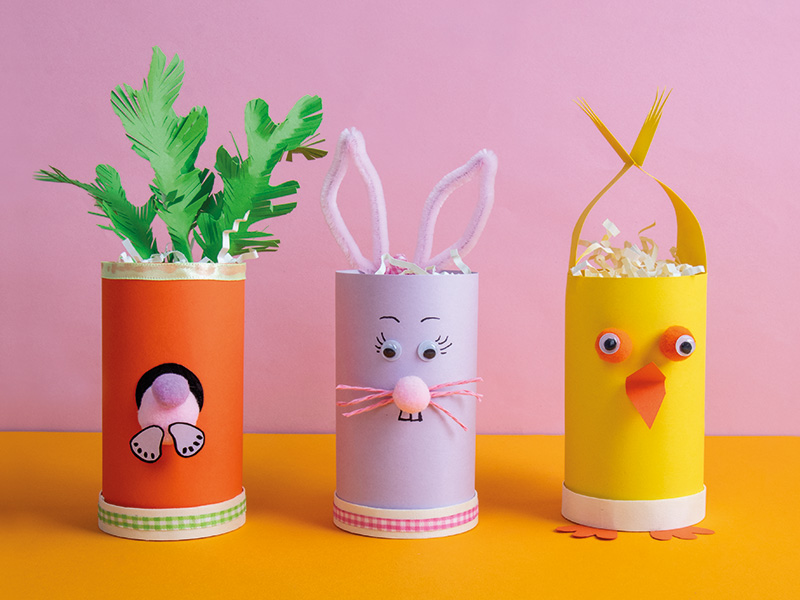


Instructions in 10 steps A great hobby-craft activity for kids: The main Easter figurines are quickly made from craft cardboard, then enhanced with pompoms, chenille wire and wiggling eyes.
Besides the articles listed below, you also need: Double-sided adhesive tape, scissors, craft knife or paper cutter, black Multi-Liner marker
And this is how it works: 1 ![]()
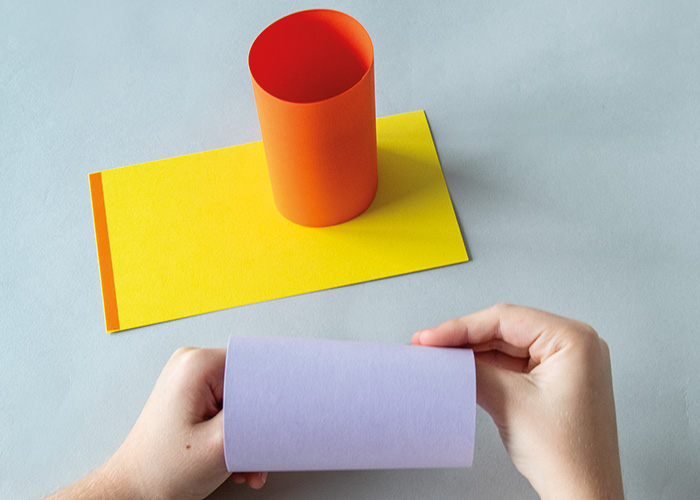
Step 1
Make a blank measuring 18.5 × 10 cm out of yellow, lilac and orange craft cardboard. Glue each blank together using double-sided adhesive tape in order to get a roll of each colour.2 ![]()
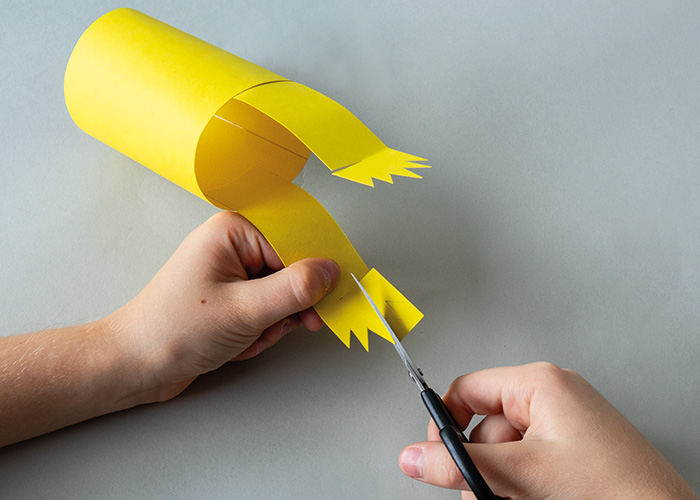
Step 2 - Baby chicks
To make the baby chick, you’ll need two strips of yellow craft cardboard measuring 11 × 3 cm each. Glue one strip on the left side and one on the right side of the top edge of your yellow roll. Then cut the edges of the two strips in a zig-zag pattern to create the baby chick's crest.3 ![]()
Step 3 - Baby chicks
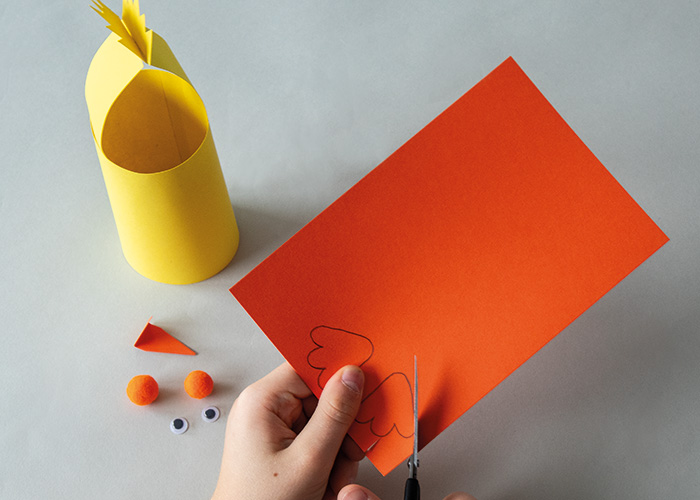
Cut out the feet, beak and tail for the baby chick from the orange craft cardboard. For the eyes, glue the wiggling eyes onto the pompoms.4 ![]()
Step 4 - Baby chicks
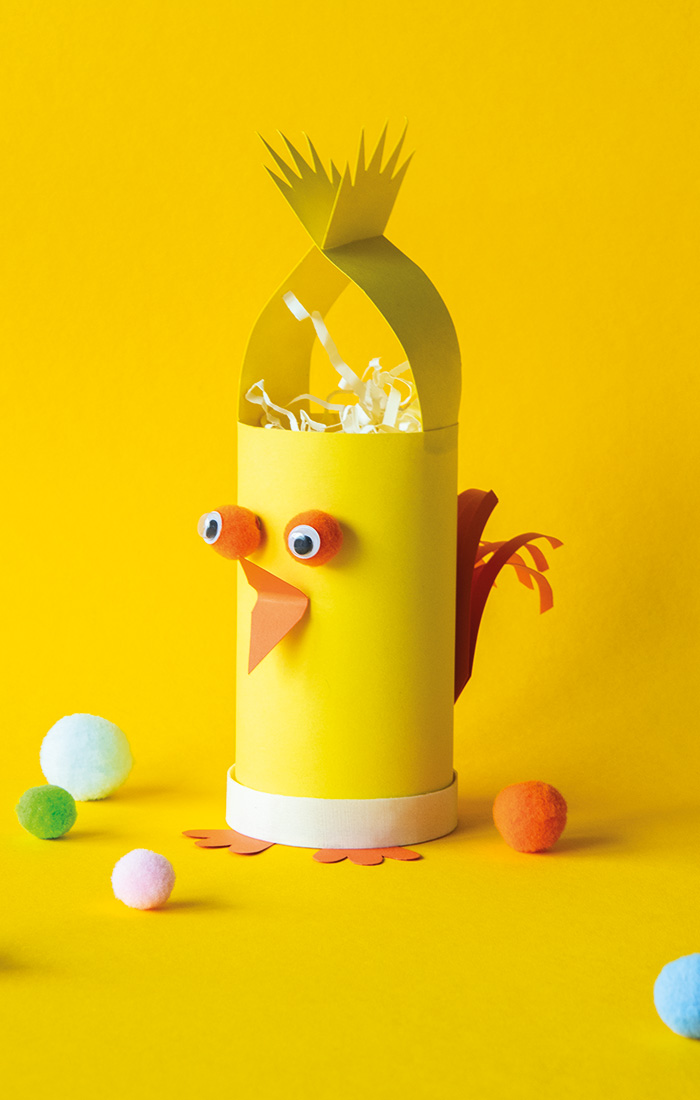
Then, glue the beak, eyes and tail onto the yellow roll using the Glue Fix pen. Glue the feet to the top of the chip box cover. Insert the yellow roll into the chip box cover.5 ![]()
Step 5 - Bunnies
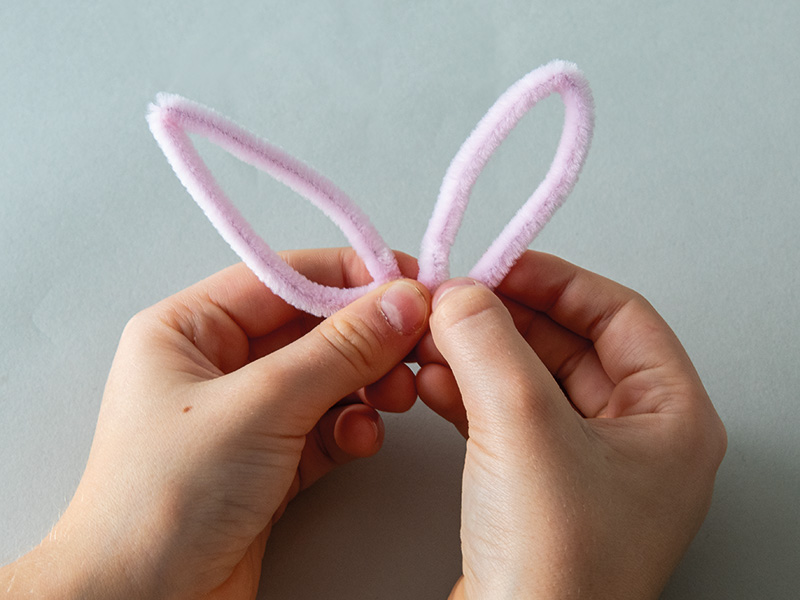
For the bunny, bend the two pinkish chenille wires to make the ears, then glue them to the top edge of the lilac roll using the Glue Fix pen.6 ![]()
Step 6 - Bunnies
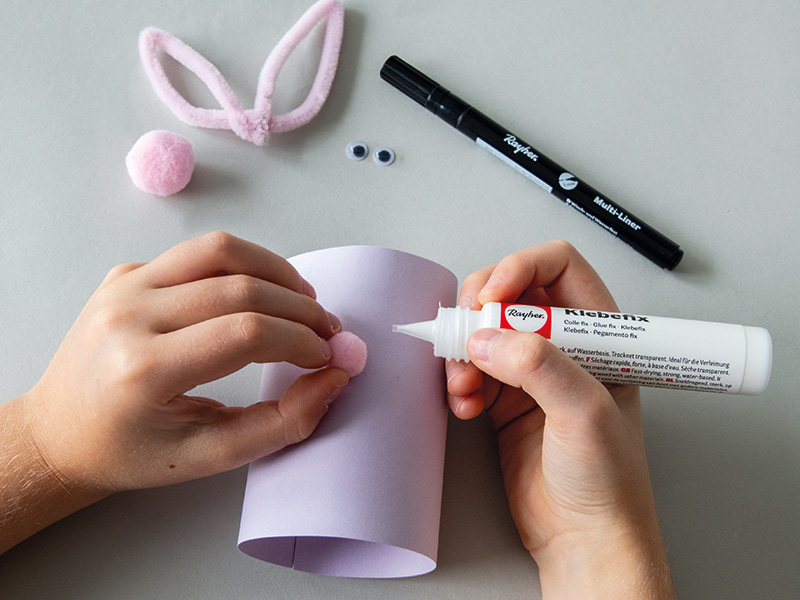
Glue the wiggling eyes, the pink pompom (for the nose), the tail and the pink cords (for the whisker) to the roll using the Glue Fix pen.7 ![]()
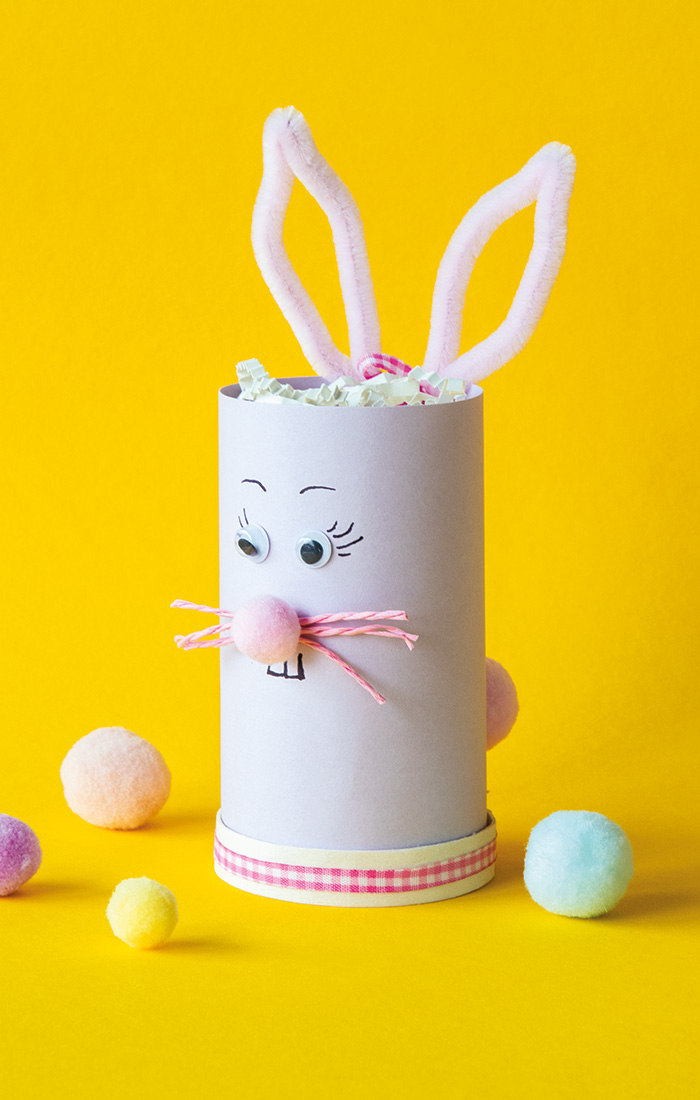
Step 7 - Bunnies
Glue the pink checkered ribbon around the edge of the chip box. Draw the teeth, lashes and eyebrows on the roll using the black Multi-Liner marker. Finally, insert the finished roll into the chip box cover.8 ![]()
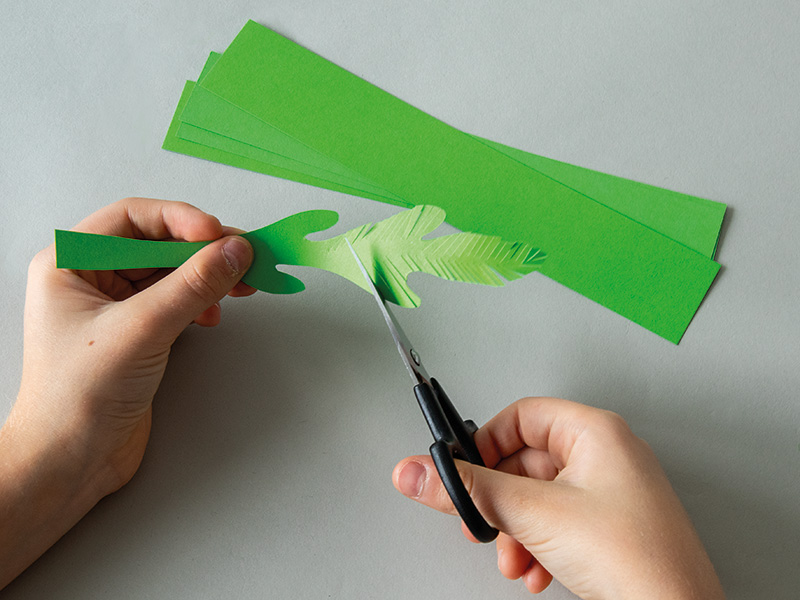
Step 8 - Carott
To make the carrot, cut out 5 strips (to be used as carrot tops) from the green craft cardboard and stick them onto the green chenille wire using the Glue Fix pen. Cut out the leaves and stick them to the top edge of the orange roll.9 ![]()
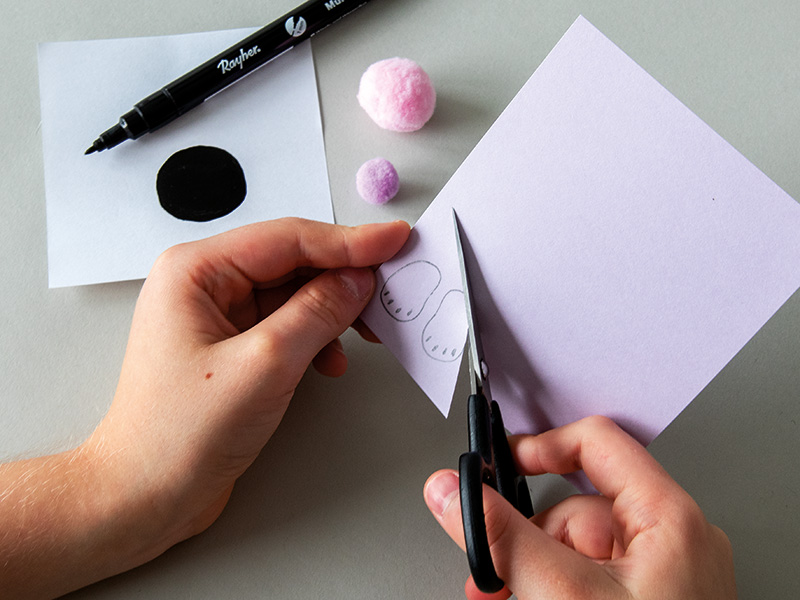
Step 9 - Carott
Draw a circle with a diameter of about 2.7 cm on a white paper and paint it with the black Multi-Liner marker. Draw also the bunny’s two feet on the lilac craft cardboard using the Multi-Liner marker. Now, you have to cut out the black circle and the feet.10 ![]()
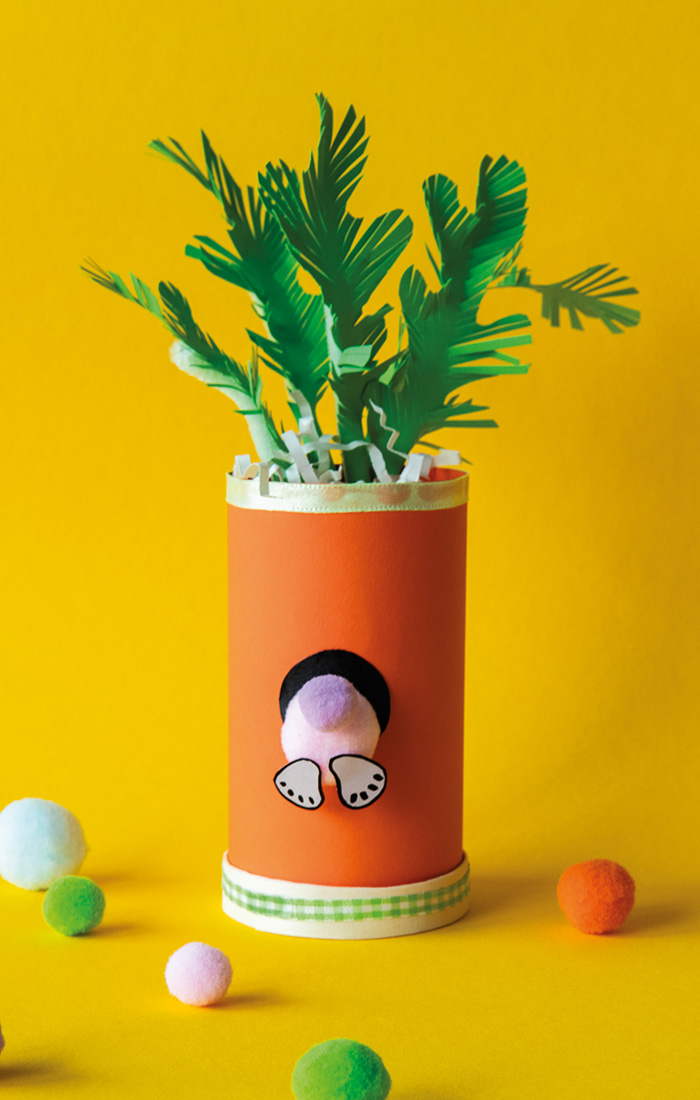
Step 10 - Carott
Glue all the parts (feet, circle and pompoms) onto the orange roll using the Glue Fix pen. Glue the green ribbon to the top edge of the roll and the checkered ribbon to the edge of the chip box cover. Insert the finished roll into the chip box cover.Tip: Take the decorative paper grass to fill in all three rolls (bunny, baby chick and carrot).
Related craft ideas Looking for similar craft ideas? You can find them here: ![]()
![Difficulty -]()
![]()
![Difficulty -]()
![]()
![Difficulty -]()
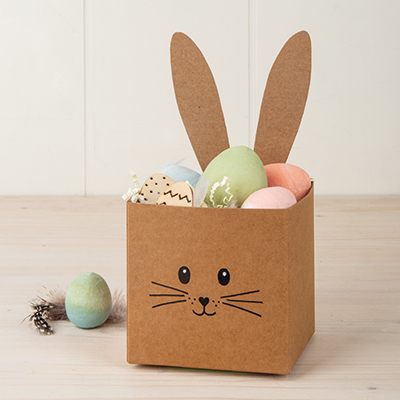
Self-made Easter nests
DIFFICULTY

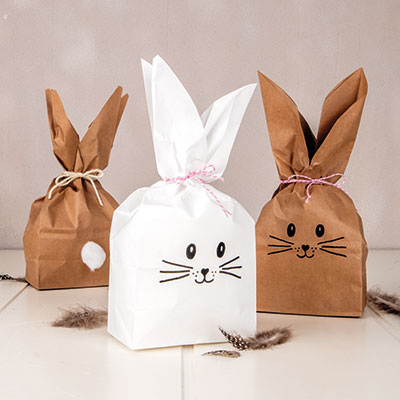
Bag bunny
DIFFICULTY
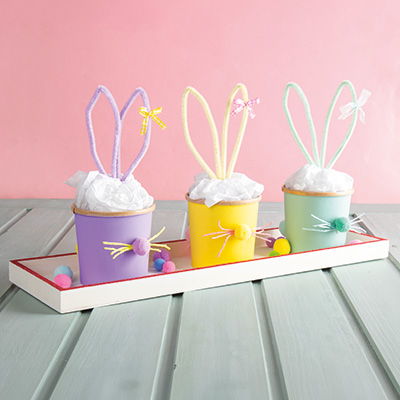
Bunny gift cups
DIFFICULTY
