


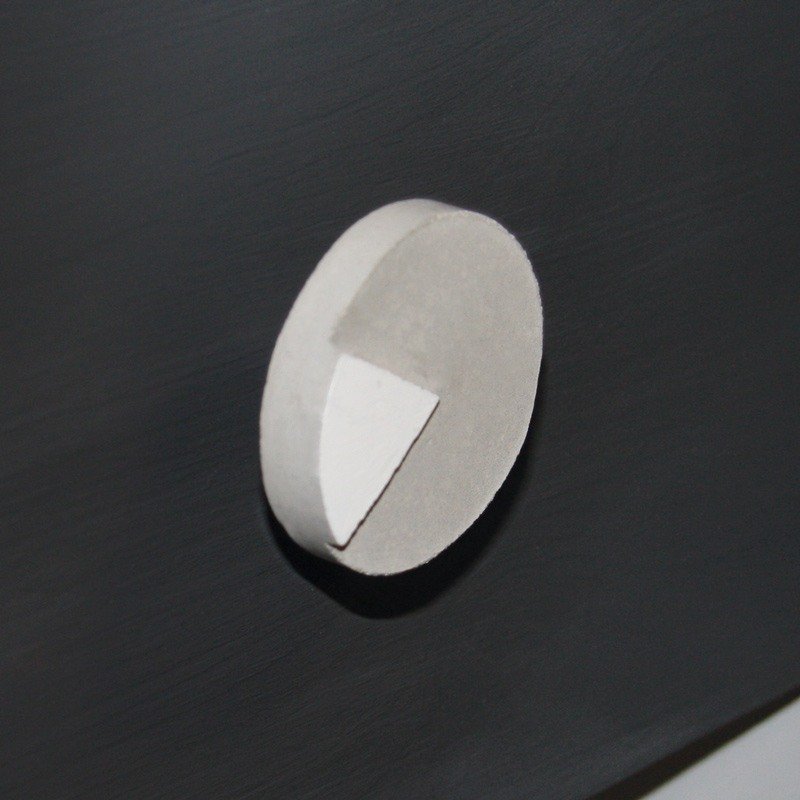


Instructions in 10 steps By means of the foam rubber sheet, you can design your own label to insert in the casting mould. The foam rubber circle with a recess creates the special 3D effect afterwards. The screw with which you are going to screw the knob is cast in directly.
Besides the articles listed below, you also need: Vessel to stir the cement, wooden spatula, cooking oil, brush, sandpaper, scissors
And this is how it works: 1 ![]()

Step 1
Carry out the preparation by cutting-out a circle from the crepla sheet to the size of the inner diameter of the casting mould. For added impact, cut out from the crepla circle a small “piece of cake”, put the remaining circle in the casting mould and coat the sponge rubber as well as the casting mould with a cooking oil.2 ![]()
Step 2
Place straight the casting mould on the work surface. For a safe standing position, you could use a towel or a sand bed.3 ![]()
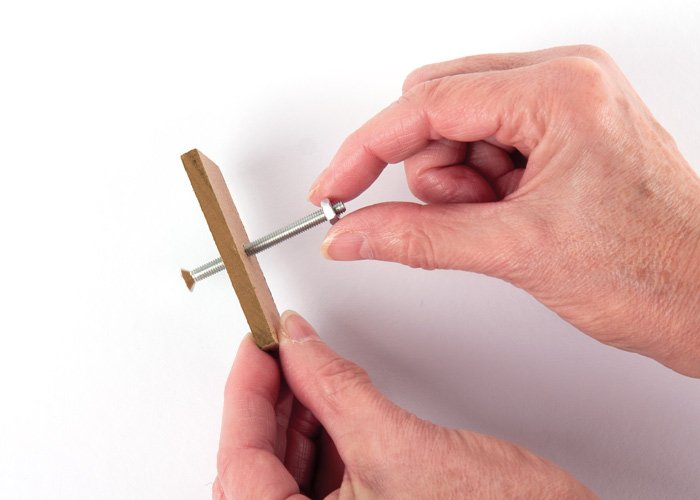
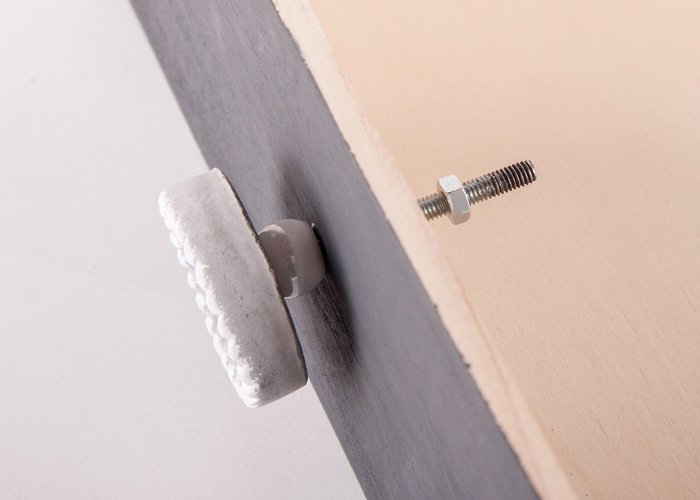
Step 3
Now, the screw set can be pre-mounted. For this purpose, you have to pull the screw through the holder and then tighten the nut so that the screw has an adequate size for the deco-cement knob.4 ![]()
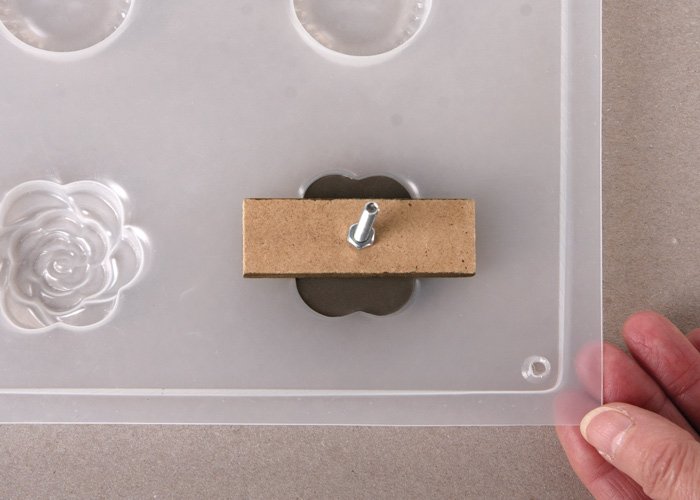
Step 4
Stir 30 g of the jewellery-cement according to the package leaflet and pour it into the prepared casting mould. Position centrically the screw head.5 ![]()
Step 5
Allow to dry for 24 hours.6 ![]()
Step 6
The cast knob can now be removed by applying a slight pressure onto the back of the casting mould. Do not pull the screw! Clean the casting mould thoroughly with a detergent.7 ![]()
Step 7
Remove the crepla piece from the cement knob.8 ![]()
Step 8
You can use the sandpaper to remove unwanted unevennesses or small ridges from the knob. Allow then the knob to dry thoroughly and optionally paint it.9 ![]()
Step 9
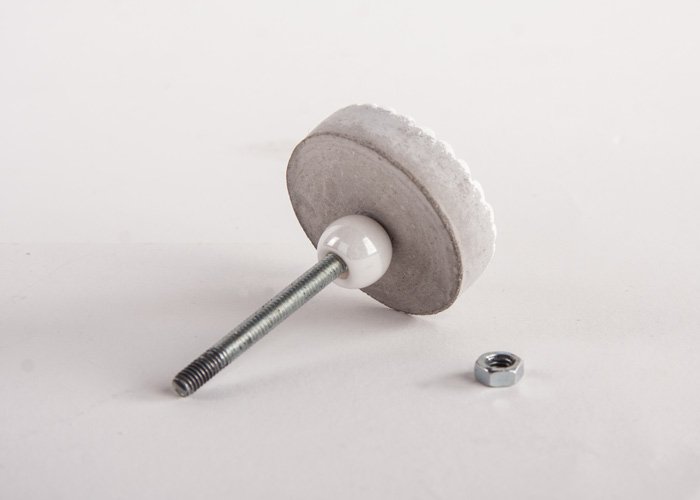
Now you can attach the deco knob to your desired object. As small spacers you can put optionally one more large hole bead onto the screw.10 ![]()
Step 10
If the screw is too long for your drawer, you can easily pinch off the exceeding part using a suitable tool (e.g. the compound-leverage end cutter) and then sand it smooth.Related craft ideas Looking for similar craft ideas? You can find them here: ![]()
![Difficulty -]()
![]()
![Difficulty -]()
![]()
![Difficulty -]()
![]()
![Difficulty -]()
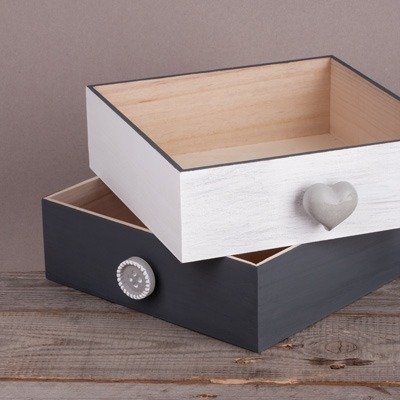
Cement knob drawer
DIFFICULTY

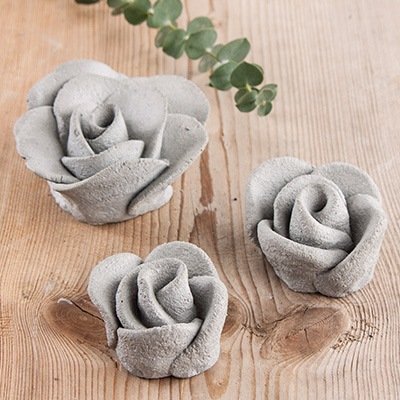
Rose out of kneading-cement
DIFFICULTY
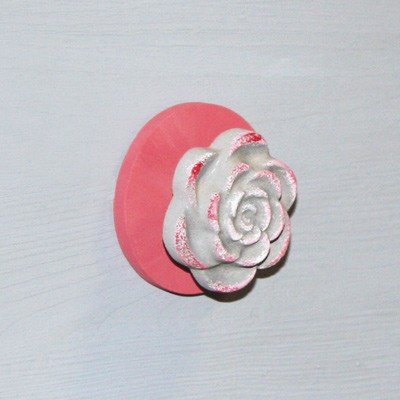
Deco knob Rose
DIFFICULTY

Cement-magnets
DIFFICULTY