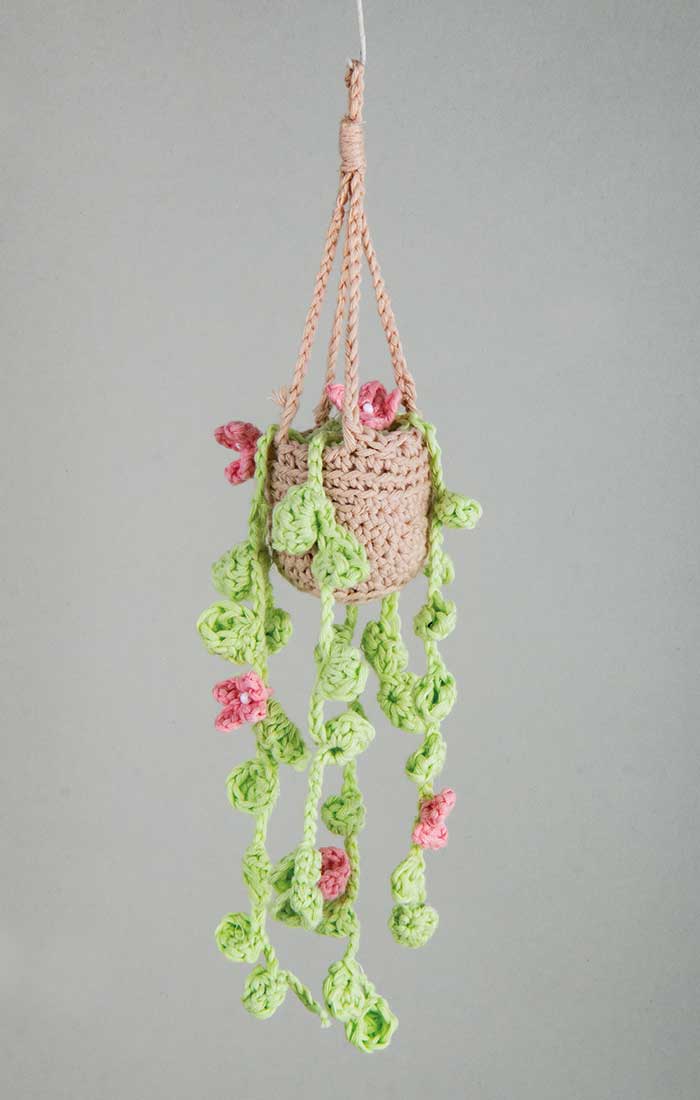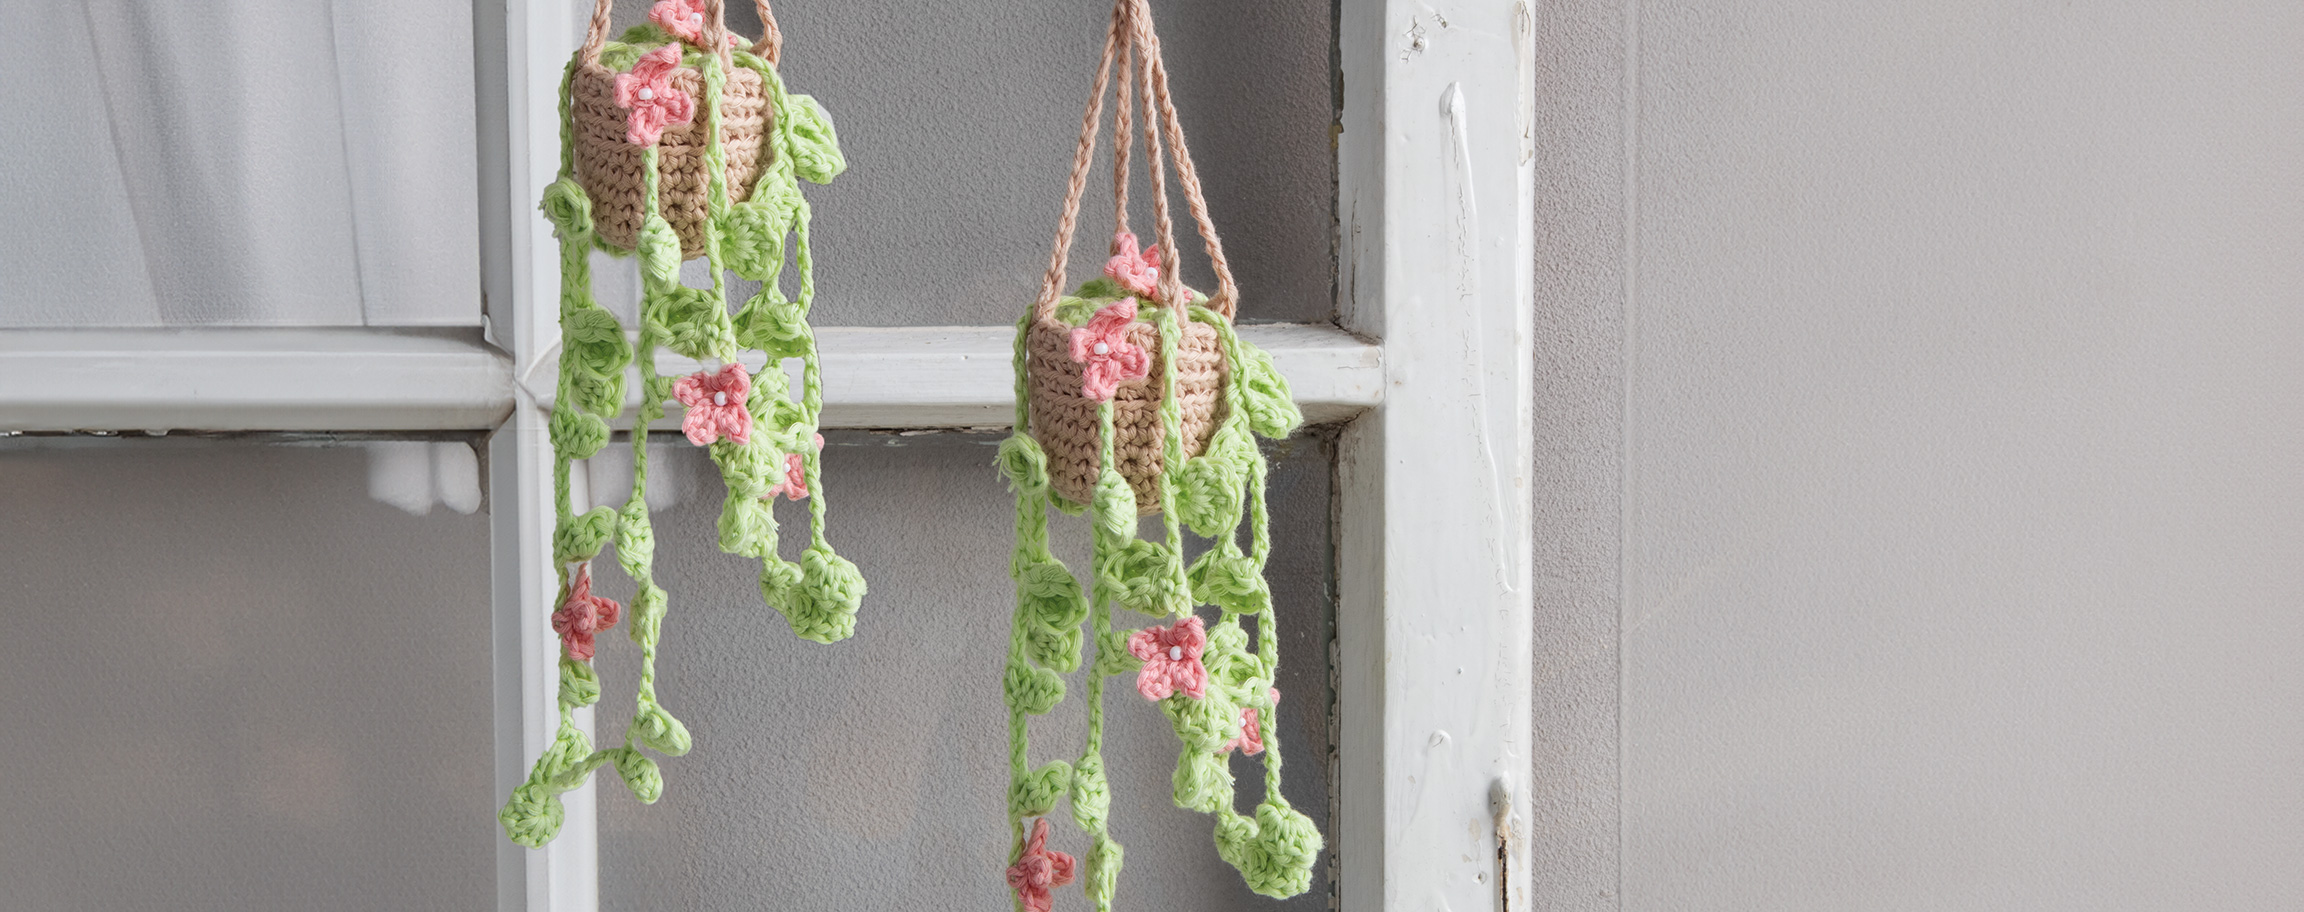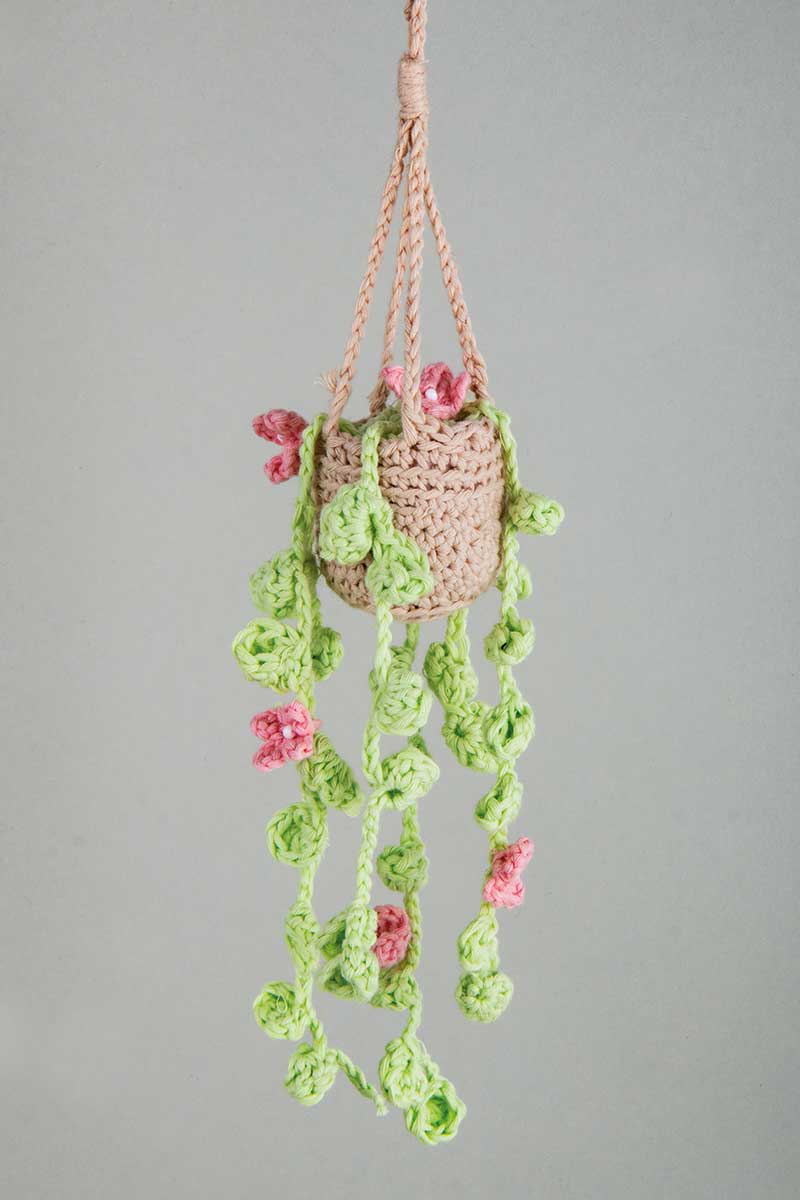
Instructions in 15 steps Thanks to the soft cotton yarn, chain stitches, double and treble crochets, a beautiful plant hanger emerges.
Besides the articles listed below, you also need: Scissors, wadding or paper for stuffing, yarn darner
And this is how it works: 1 ![]()

Step 1 - Plant pot
First you need to crochet 6 chain stitches and close them in a circle. Row 1: double each stitch (i.e. crochet two double crochets in each stitch) Row 2: 1 double crochet, double 1 stitch, repeat until end of row Row 3: 1 double crochet, double 1 stitch, *2 double crochets, double 1 stitch* (from * till * repeat the whole process 5 times) Row 4: insert your hook into back loop only: *3 double crochets, double 1 stitch* (from * till * repeat the whole process 6 times) Row 5 and 6: in each stitch one double crochet Row 7: 2 double crochets, double one stitch, *4 double crochets, double one stitch* (from * till * repeat the whole process 5 times) Row 8 and 9: in each stitch one double crochet Row 10: insert your hook into front loop only: in each stitch one double crochet Row 11: in each stitch one double crochet2 ![]()
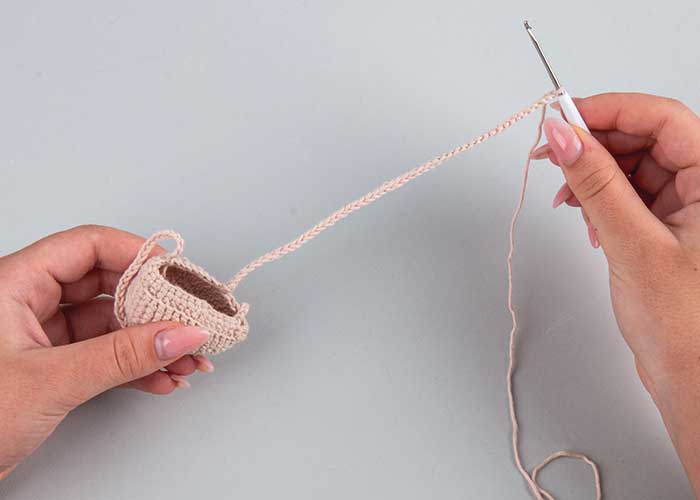
Step 2 - Plant pot
After the last stitch, crochet the suspension cord directly with 45 chain stitches.3 ![]()
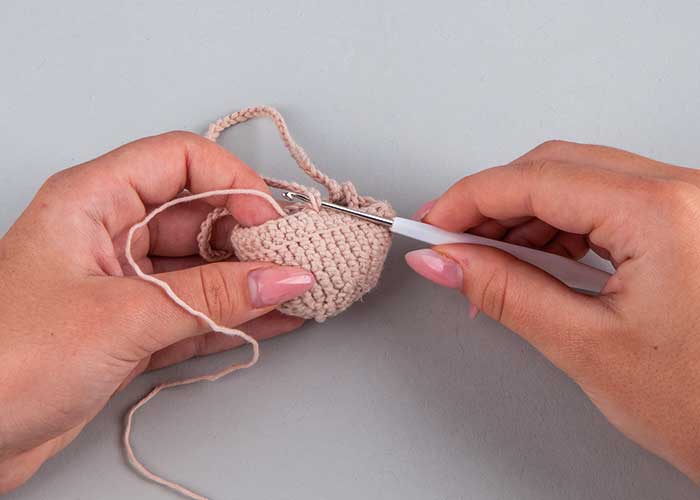
Step 3 - Plant pot
Attach this suspension cord to the opposite side of the basket.4 ![]()
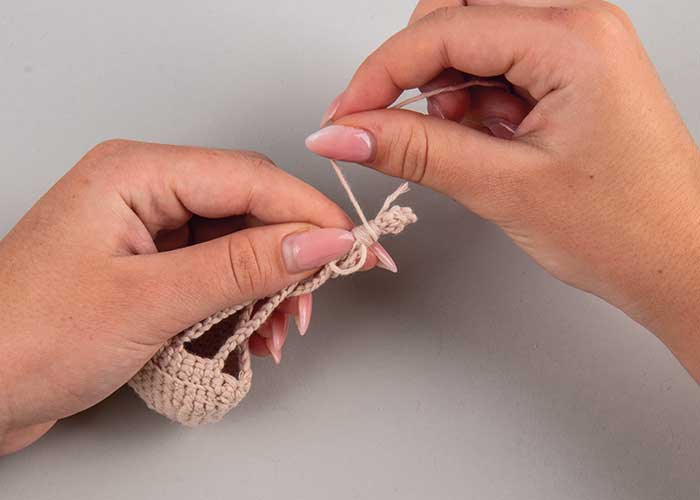
Step 4 - Plant pot
Following the same pattern, crochet the next row with chain stitches so that you reach a suspension cord at each quarter of the basket. Gather and join the suspension cords with a wrap knot.5 ![]()
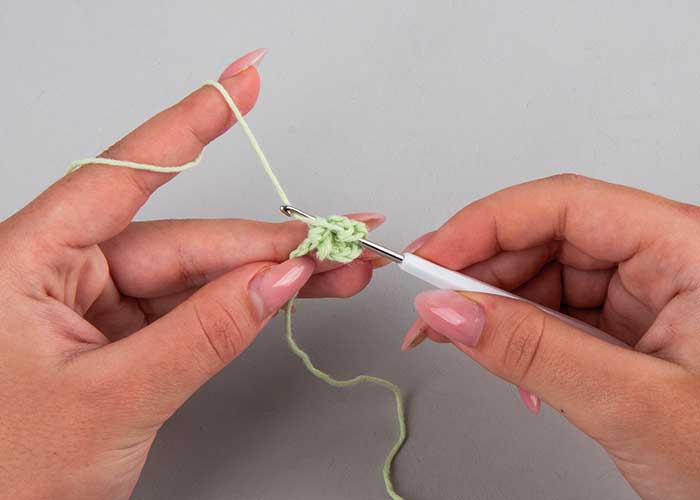
Step 5 - Tendrils
Start with 7 chain stitches. Crochet in the 3rd chain stitch (counting from the crochet hook) 5 treble crochets.6 ![]()
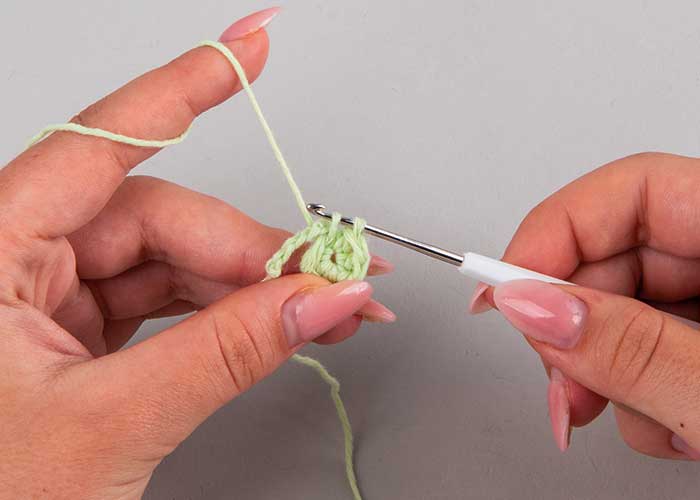
Step 6 - Tendrils
Extend the crochet yarn, insert the crochet hook into the 1st treble crochet and pull the yarn through.7 ![]()
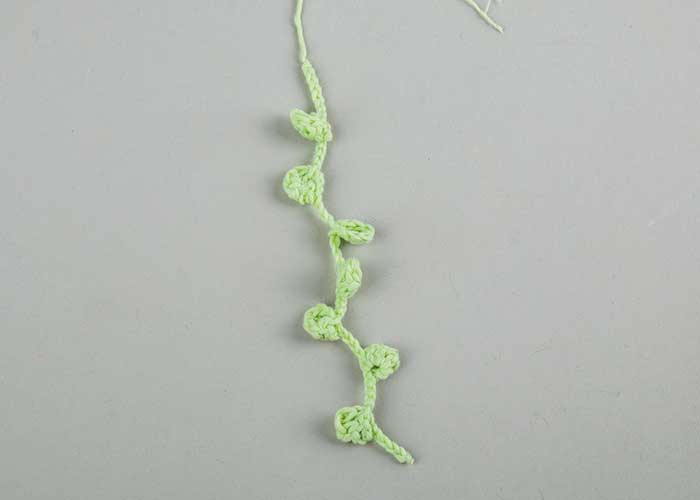
Step 7 - Tendrils
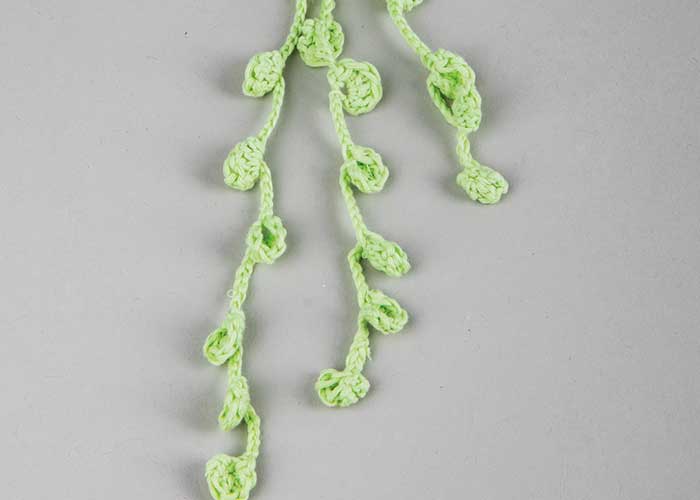
Crochet 7 more chain stitches with this yarn, then crochet 5 treble crochets in the 3rd chain (counting from the crochet hook). Extend the crochet yarn, insert the crochet hook into the 1st treble crochet and pull the yarn through. Repeat the whole thing until you get 7 leaves on your tendril.8 ![]()
Step 8 - Tendrils
You can now start to crochet the next tendril, as described in step 5 above (a+b). To make your tendrils look natural, you can crochet a different number of chain stitches between the leaves to obtain a different amount of leaves and longer tendrils.9 ![]()
Step 9 - Crocheted circle
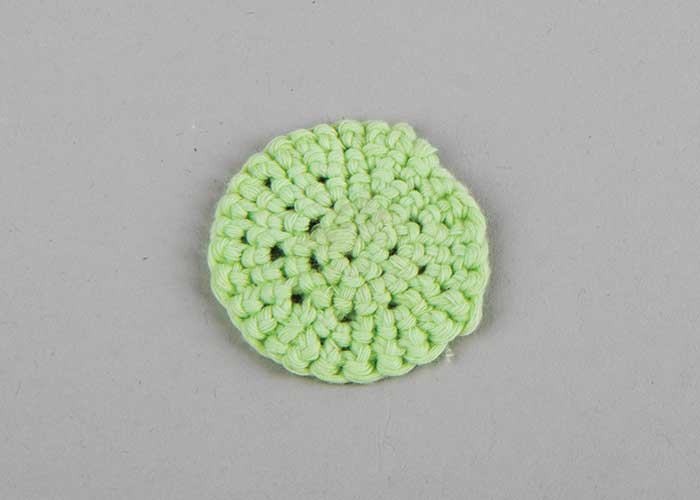
You need to crochet chain stitches and close them in a circle. Row 1 and 2: double each stitch. Row 3: 1 double crochet, double 1 stitch, repeat until end of row. Row 4: in each stitch one double crochet10 ![]()
Step 10 - Crocheted circle
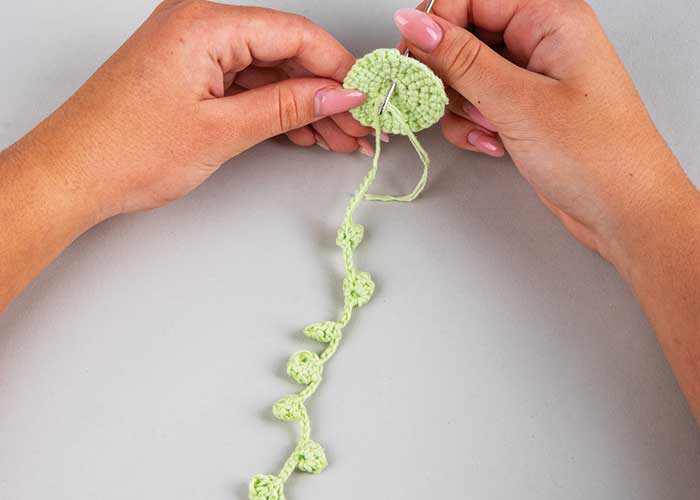
The various tendrils with leaves must be sewn onto the crocheted circle.11 ![]()
Step 11 - Crocheted circle
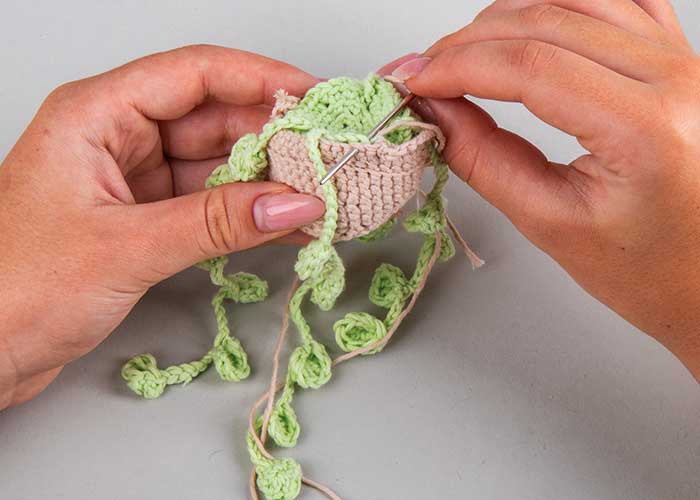
Stuff the crocheted plant pot with wadding or paper. Then sew firmly the crocheted circle with the tendrils to the edge of the plant pot using the yarn darner.12 ![]()
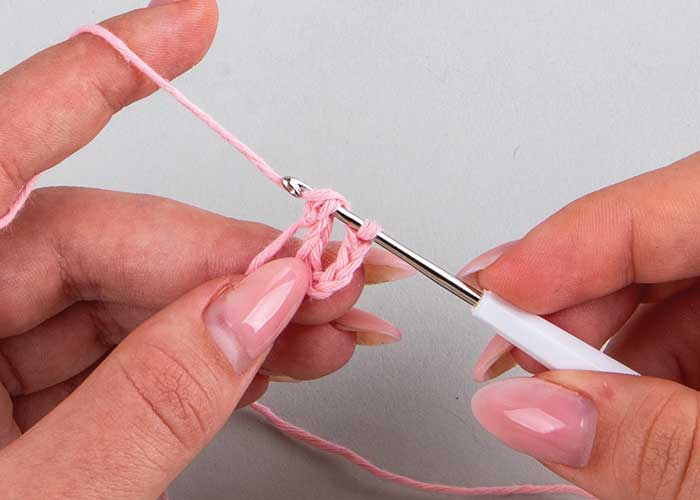
Step 12 - Blossoms
Crochet 7 chain stitches. Insert the crochet hook into the first stitch and pull the yarn through (this results in a flat oval shape = petal)13 ![]()
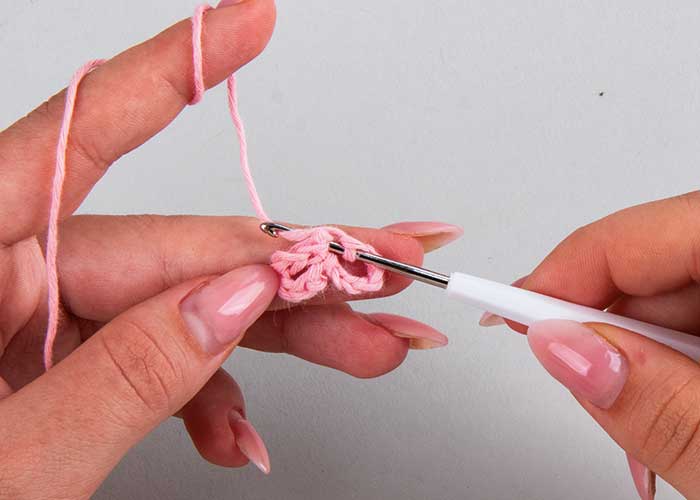
Step 13 - Blossoms
Crochet 7 more chain stitches, insert the crochet hook into the first stitch and pull the yarn through. Repeat this step until you end up with 4 petals.14 ![]()
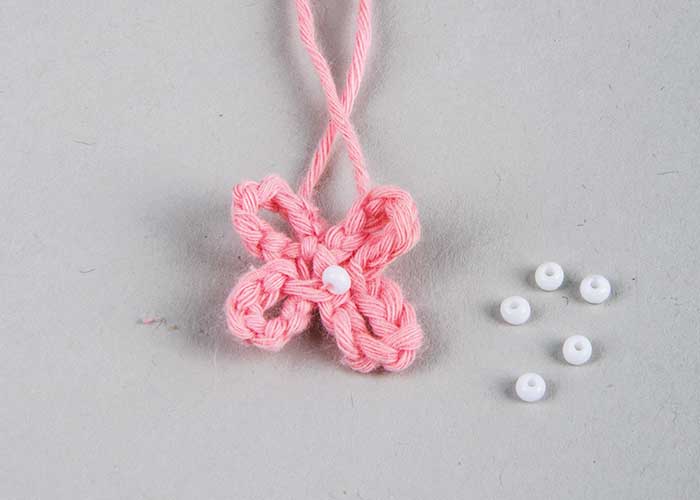
Step 14 - Blossoms
Sew a white Rocaille bead in the middle of each flower. You can crochet as many flowers as you like.15 ![]()
