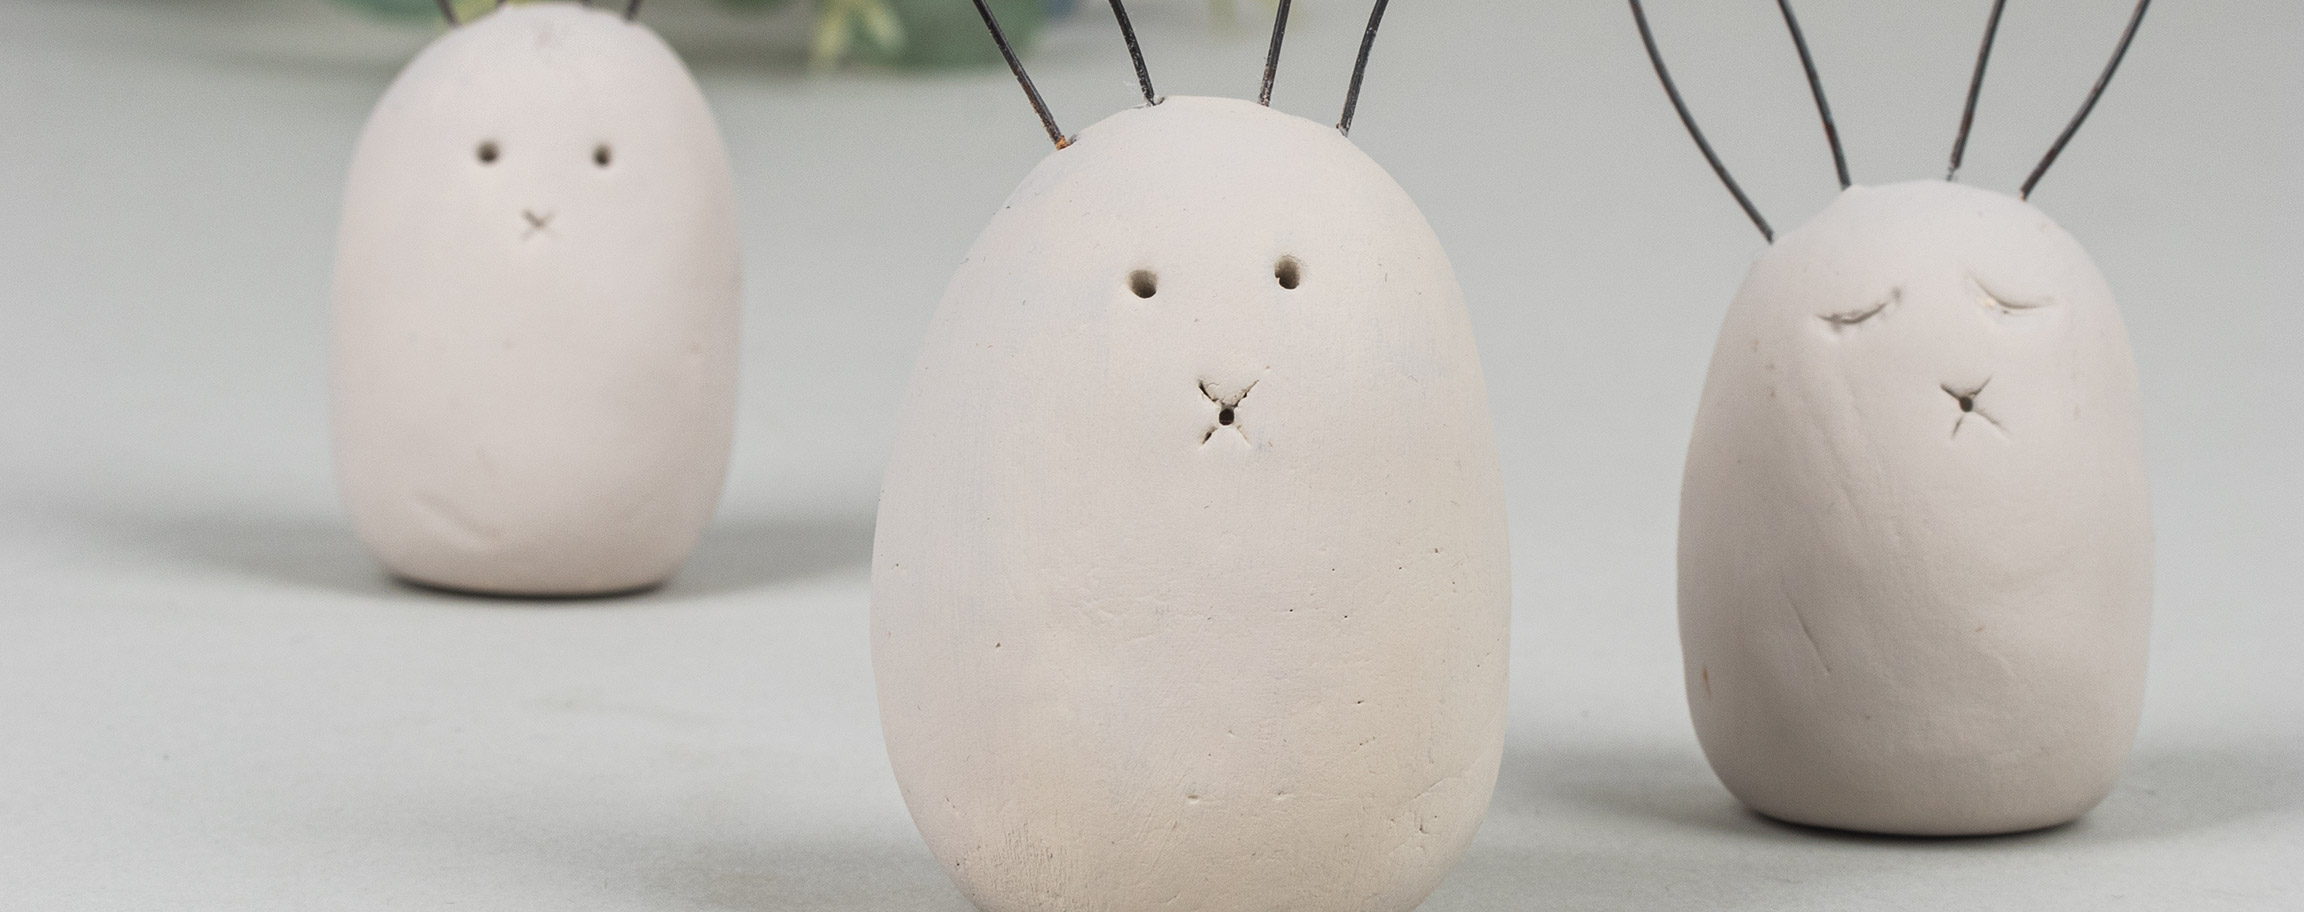


Instructions in 3 steps Swiftly shaped and dried in the open air: these Easter bunnies are going to embellish your vernal decor in a trice.
Besides the articles listed below, you also need: Sharp knife, wire cutter (e.g. 89 342 00), pencil, potentially a kitchen scales
And this is how it works: 1 ![]()
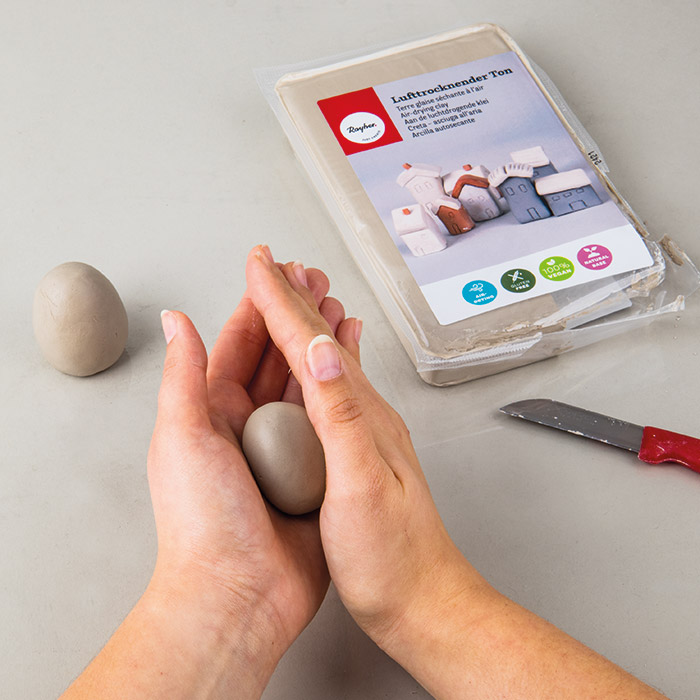
Step 1
Use a knife to cut off pieces of the air-drying clay equivalent in size. Form the oval bodies with your hands and put them on a firm surface (table) to be held well in place.2 ![]()
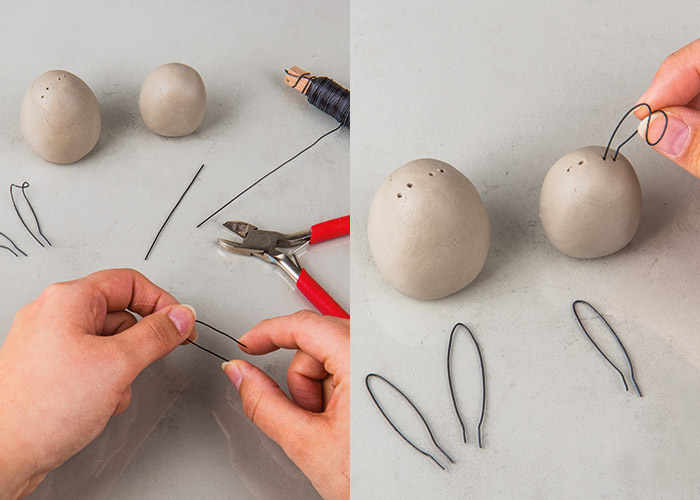
Step 2
Use the wire cutter to cut twice about 8 cm of florist's wire per bunny. Smooth out the slightly corrugated wire by pulling it with a pencil. Poke the holes for the ears in the clay shapes with the end of the wire. Then bend the ears into the desired shape.Important: Insert the wire ears into the holes once the clay has completely dried out. The clay can otherwise get rust spots.
3 ![]()
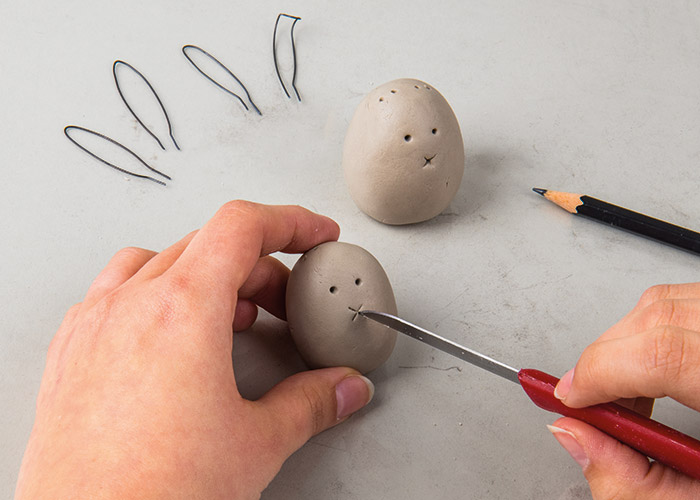
Step 3
Draw the eyes and mouth in the clay with a knife or a sharp pencil. The bunnies are fully dry after about 3-4 days.Related craft ideas Looking for similar craft ideas? You can find them here: ![]()
![Difficulty -]()
![]()
![Difficulty -]()
![]()
![Difficulty -]()
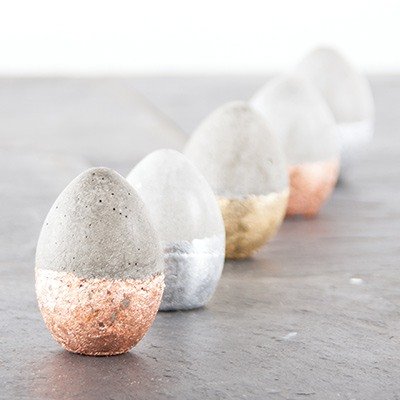
Cement egg
DIFFICULTY

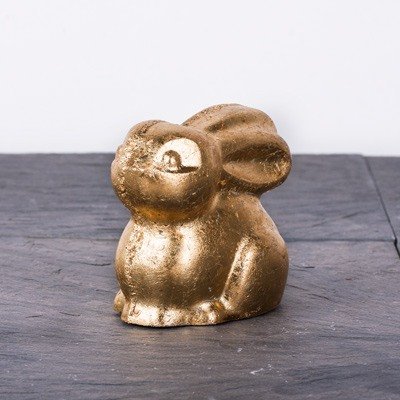
Golden rabbit out of creative-cement
DIFFICULTY
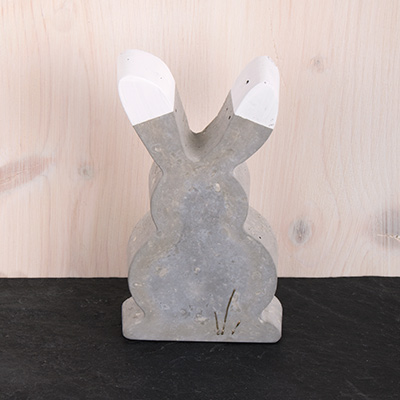
Bunny out of concrete
DIFFICULTY