


Instructions in 8 steps Soaps with labels are easy to make: simply lay it in the mould and cast it together with the soap.
Besides the articles listed below, you also need: Stove, pot, melting pot, scale, small plastic container, craft stick as a stirrer or teaspoon, tablespoon
And this is how it works: 1 ![]()

Step 1
Melt the creative-soap in a water-bath on the stove (max. 60° - do not boil).2 ![]()
Step 2
After the complete melting, you can stir the desired colour and fragran-ce oil in the liquid soap. Therefore, use a craft stick or a teaspoon.3 ![]()
Step 3
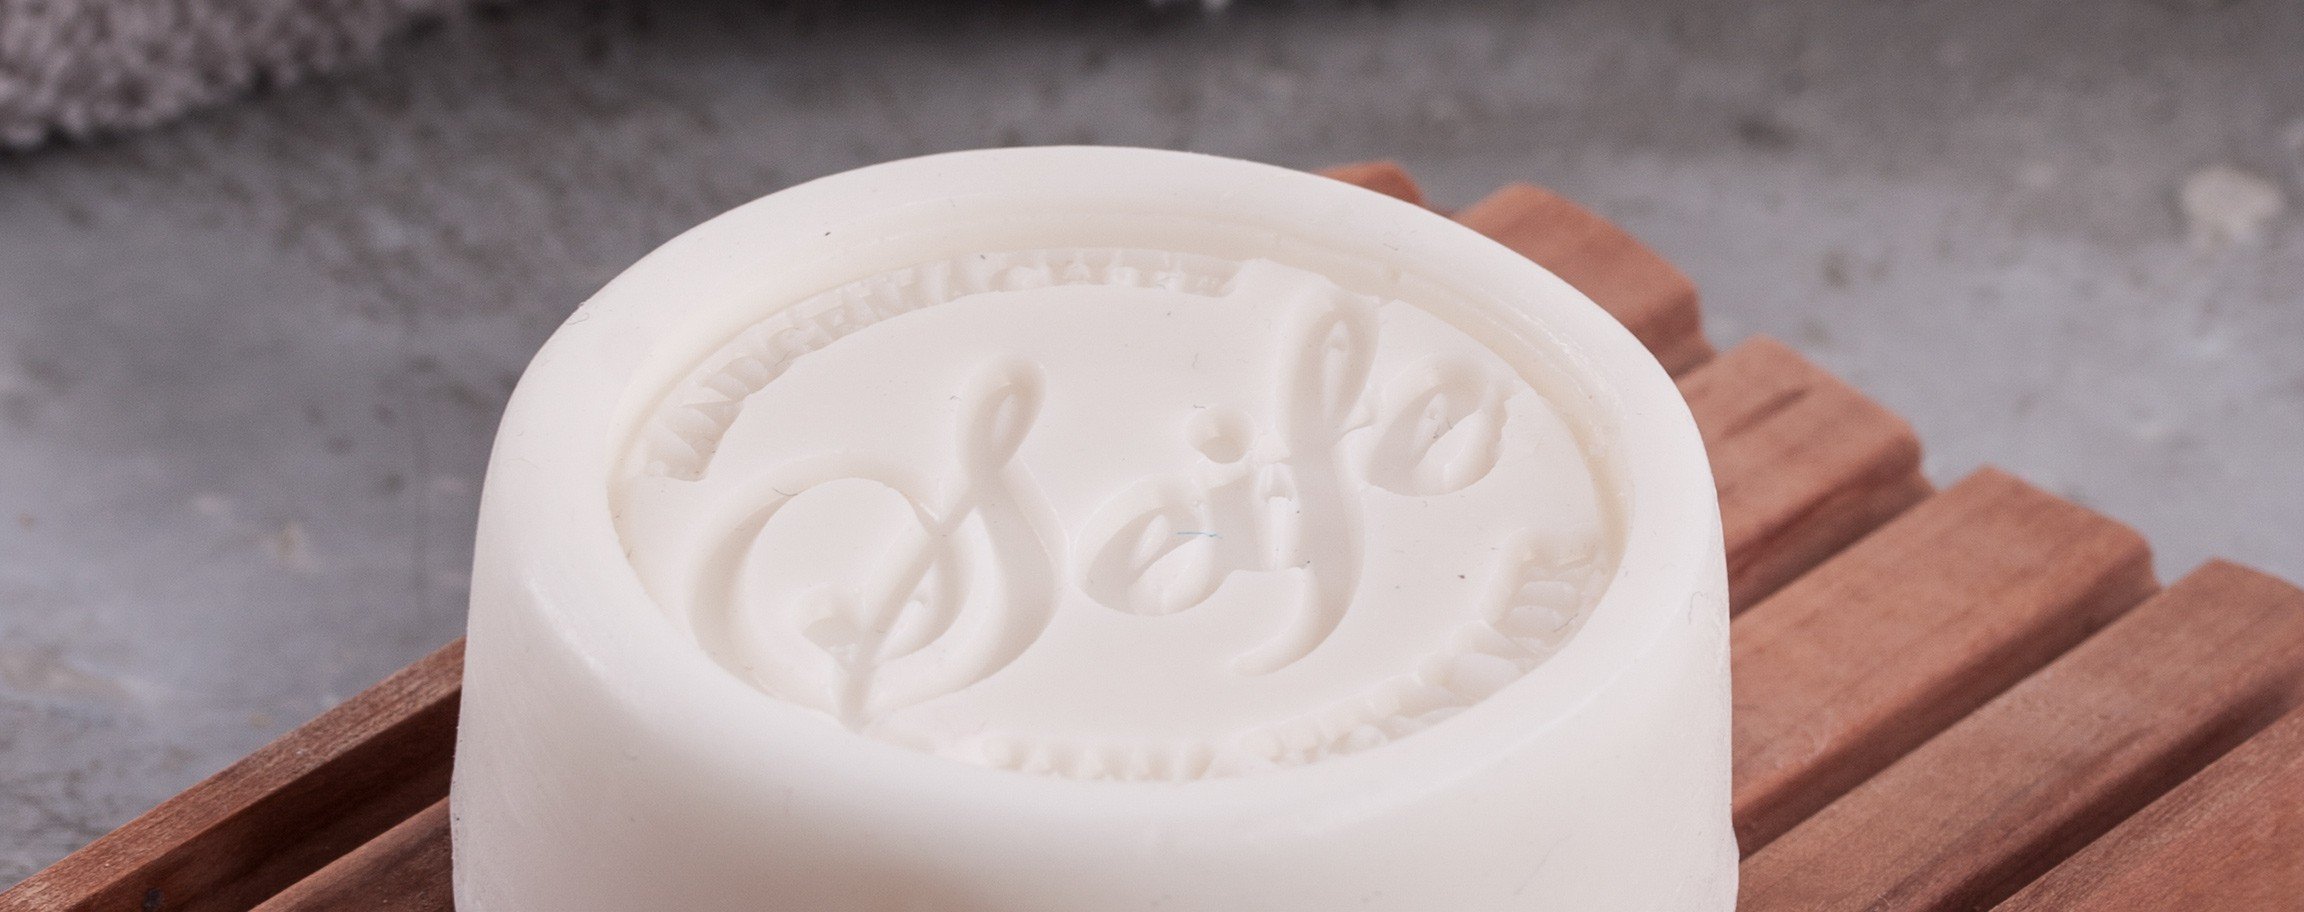
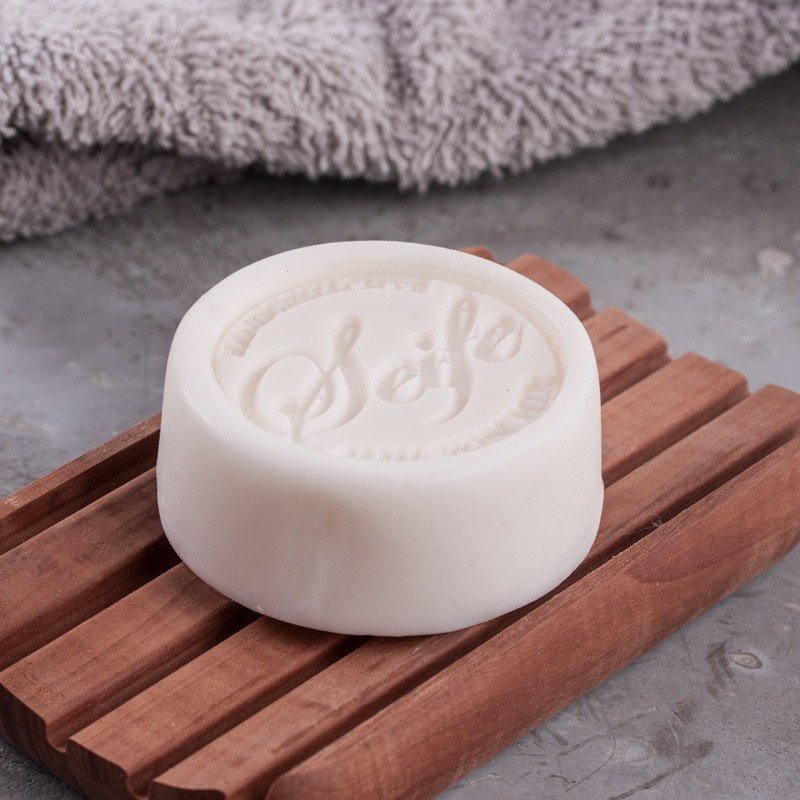
For the soaps with motif or logo, place upwards the label with the stamping.4 ![]()
Step 4
To avoid blistering or slipping of the label, use at best a tablespoon with which you fill the casting mould with the liquid soap.5 ![]()
Step 5
Let the soap dry well out (at least 2-3 hours, ideally one day). Demould the soap by a slight pressure.6 ![]()
Step 6
Remove the label at best with a pointed object e.g. a needle.Tip: Let the finished soap dry at best for 2-3 weeks; the longer it ripens, the firmer becomes.
7 ![]()
Step 7
Depending on the temperature and airiness, the soap can perspire. We therefore recommend to wrap the soap after its demoulding in a transparent foil for flowers (cellophane).8 ![]()
Step 8
Clean soap casting mould and pots with hot water.Related craft ideas Looking for similar craft ideas? You can find them here: ![]()
![Difficulty -]()
![]()
![Difficulty -]()
![]()
![Difficulty -]()
![]()
![Difficulty -]()

Marbled soap „Made by me“
DIFFICULTY

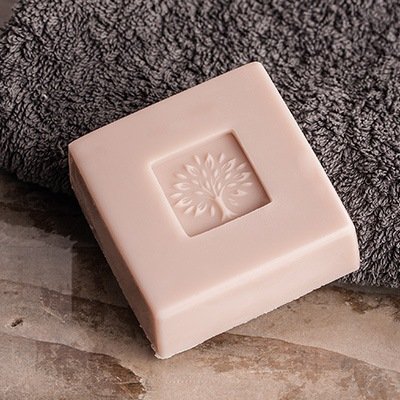
Natural soap with tree of life
DIFFICULTY

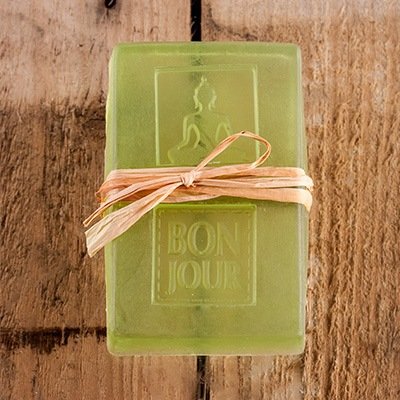
Soap „Bonjour“ with Buddha
DIFFICULTY
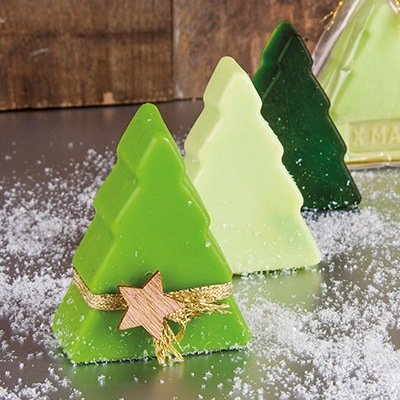
Various green fir trees
DIFFICULTY
